How To Fix The Uploaded File Exceeds The Upload_max_filesize Error In WordPress
Table of contents
When trying to upload a large file such as a theme zip file, a plugin zip file or even a large image, you may encounter the error “The uploaded file exceeds the upload_max_filesize directive in php.ini.” or “ exceeds the maximum upload size for this site.”

Fixing this error is not difficult. In this guide, we will look into how you can go about fixing this error.
Fixing the uploaded file exceeds the upload_max_filesize directive in php.ini.
Fixing the “uploaded file exceeds the upload_max_filesize directive in php.ini” error requires you to increase the “upload_max_filesize” within your php.ini file.
Some of the ways that this an be achieved include:
- Editing your .htaccess file
- Editing your php.ini file via FTP
- Editing your wp-config.php file
- Changing the configuration in your hosting panel
Editing your .htaccess file
To increase the size via the .htaccess file, you will need to:
1. Access your site files using an FTP software such as Filezilla
2. Navigate to the root of your site files and here you should find the .htaccess file
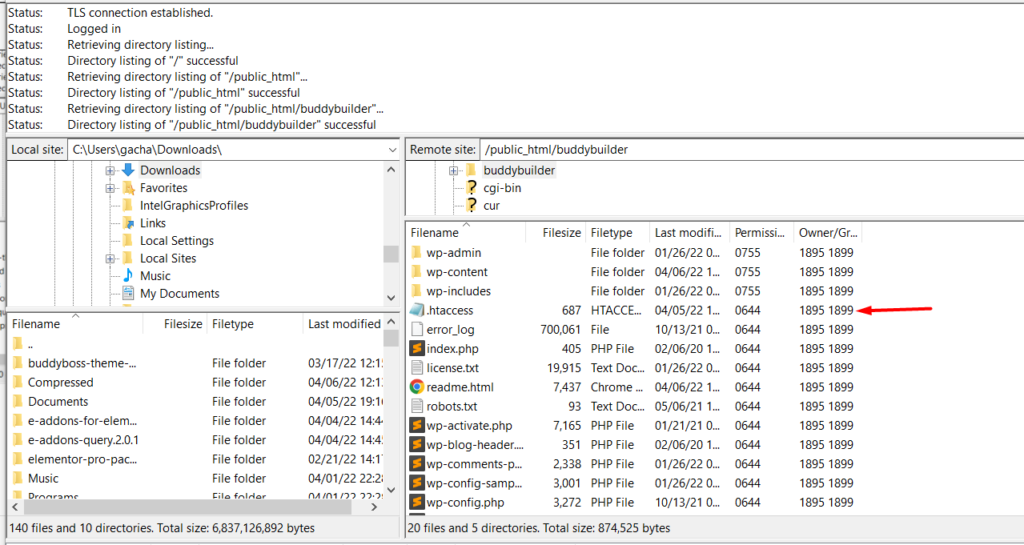
3. Download the file to your local computer to act as a backup
4. Select to edit the file hosted on your site
5. Add the following lines of code before the line “# Begin WordPress”:
php_value upload_max_filesize 512Mphp_value post_max_size 512Mphp_value memory_limit 512M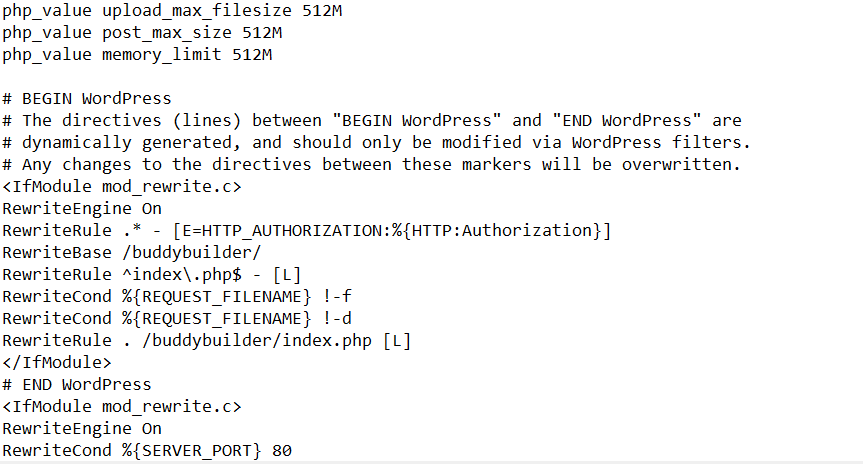
If your server is running PHP in CGI mode, then these codes would not work in your case as they may cause an internal server error.
Editing your php.ini file via FTP
The php.ini file is located within your root files as well.. To access it, you will therefore need to use an FTP software such as Filezilla to access the site files and identify the file.
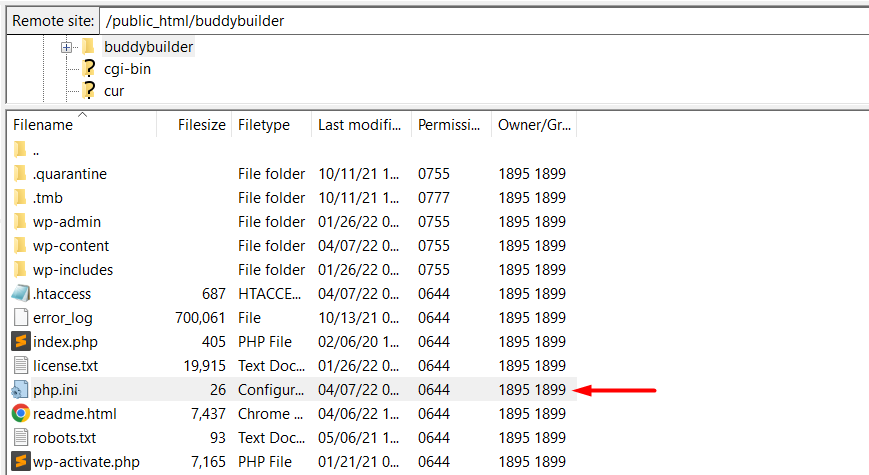
Once you have the file identified, select to edit it and add the following line of code and save your changes:
upload_max_filesize = 512MIf you do not have a php.ini file within the root of your files, you can create one still within the root of your site files.
It is however important to note that this method only works on some hosting providers. There is therefore no guarantee that it will work on your website.
Editing your wp-config.php file
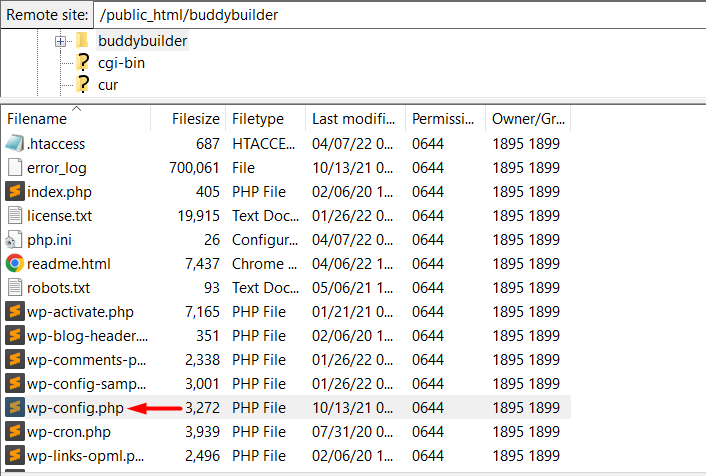
Using an FTP program of your preference such as Filezilla, access your WordPress site files and identify the wp-config.php file within your website.
Select to edit the file and add the code below just before the line that reads /* That’s all, stop editing! Happy publishing. */ .
@ini_set('upload_max_size' , '512M' );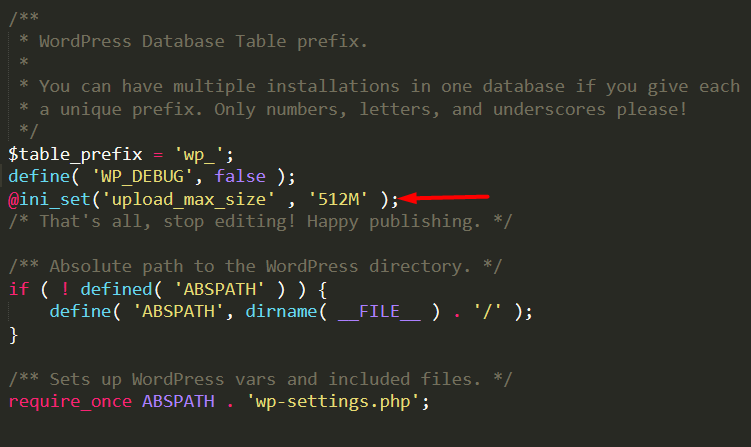
Once this is done, save your changes and check whether the issue is resolved upon trying the upload once again.
Changing the configuration in your hosting panel
Most hosting panels do provide you with a built-in setting to help you adjust your PHP configurations.
In this guide, we will cover how to have this change carried out in cPanel. In order to do so, you will first need to login to the cPanel dashboard to your site.
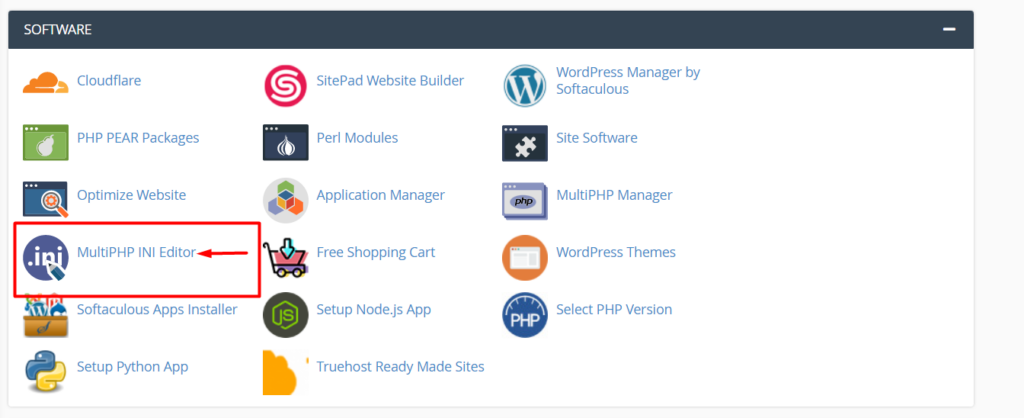
Upon accessing the dashboard, navigate to the “Software” section and click on the “MultiPHP INI Editor”.
Next, select your site from the dropdown
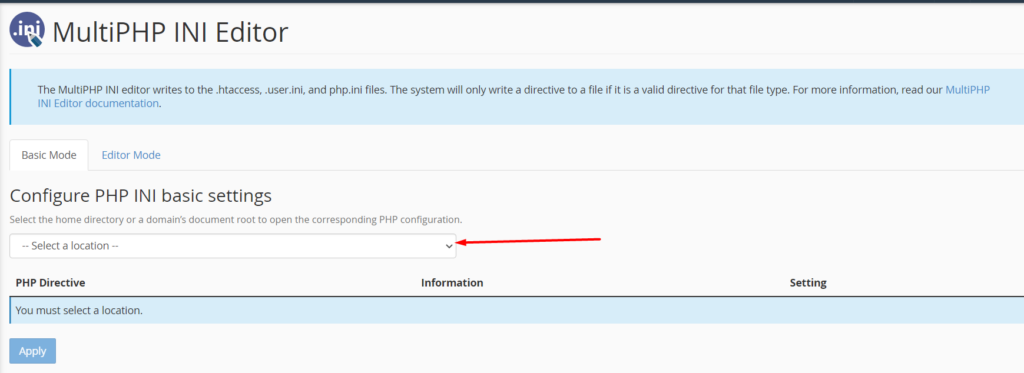
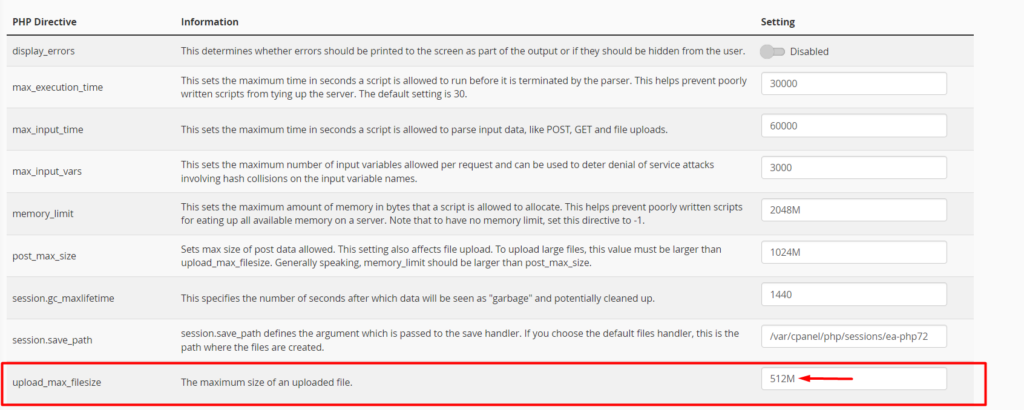
Alter the value within the “upload_max_filesize” field to an appropriate value:
Once you are done updating the value, apply the changes by clicking on the “Apply” button.
Conclusion
As highlighted within this guide, increasing the “upload_max_filesize” value to fix the “Uploaded File Exceeds The Upload_max_filesize Error” in WordPress can be carried out using either of the methods discussed above. In either of the methods, you can increase the “upload_max_filesize” value to a value that would be most appropriate to your site, as long as your hosting provider supports it. Not all methods may work for you depending on your Hosting provider.
In a scenario where none of the methods work for your site, we recommend contacting your hosting provider and ask them to increase the value for you.