How To Create Custom WordPress Page Templates
Table of contents
Page templates in WordPress themes help in determining the layout of pages within a website. Tweaking these templates can however be at times intimidating especially for beginners. Luckily, WordPress offers quite some flexibility when it comes to page templates by allowing you to create custom page templates in your theme.
Creating custom page templates for your site enables you to easily tweak layouts and designs for your site to your preference. It also allows you to add custom requirements such as utilizing different headers for different pages. These changes can actually be applied across different pages or a single page.
Within this article, we will look into what custom WordPress page templates are, the default page template hierarchy, as well as how to create custom WordPress page templates in your theme.
What Is a Custom WordPress Page Template
A custom WordPress page template is a template file that enables you to have a separate design and feel of your website.
As an example, if you have a blogging theme in your site, you can create a custom template for your site, that does not render a sidebar or comments. You can also create a template for pages where you have a template rendering content in a boxed layout and another in a full width layout. There are no limitations on the number of page templates that you can create.
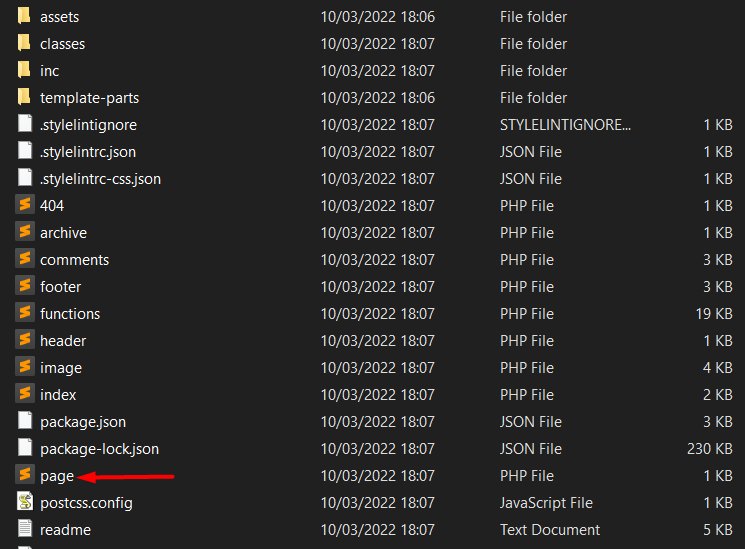
The rendering of pages is controlled by the page.php file in WordPress. This file hence forms as a default base for rendering your page content and is located within the root of your theme files as illustrated below.
If there are more specific page templates in place, then Template hierarchy kicks in.
The WordPress Page Template Hierarchy
The page template hierarchy determines which template file WordPress picks when displaying a page, depending on the nature of the request made as well as its existence within the theme.
The default WordPress template hierarchy is as follows:
Page Template: WordPress checks for a template assigned to the page and uses this template within the page
page-{slug}.php: If no template is assigned to the page, WordPress then checks for a template with the slug to the page and applies it if found.
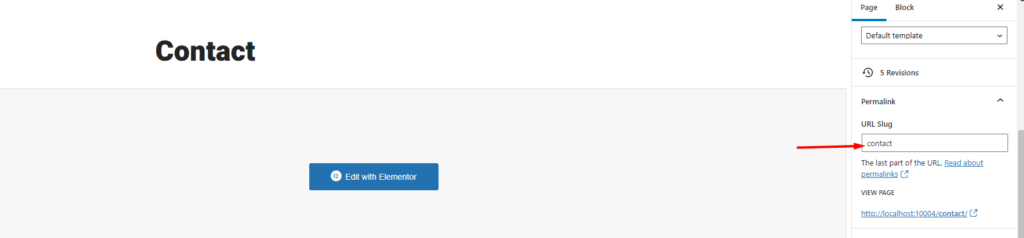
A slug is a part within the page URL after the domain name and can be edited. Below is a sample illustration on this.

page-{id}.php: WordPress will then check for the existence of a page template with the page ID to the page being rendered if no template with the slug is found.
page.php: If no template with a page id is found, WordPress will then use the standard page.php template to render the page.
singular.php: In a case where the page.php file is not found, WordPress will use the singular.php file irrespective of the post type.
index.php: If none of the above templates are available, WordPress defaults to rendering the pages using the index.php file.
Rendering of pages within your WordPress environment can hence be carried out by either of the above page templates. It is hence up to you to determine the precedence level you want to have in place.
Creating a Custom Page Template
Creation custom page templates in your theme is quite easy. You however need to determine whether the page templates will be for a single page or any page.
In this guide we will look into how to go about manually creating a global page template in the Stax theme as well as a single page template to one of our pages.
How to create a Global custom template
At times you want to create a page template that can be used globally across any page within your website.
To do so, you will need to first identify a text editor to use to use such as Notepad, Notepad ++, sublime text or any other editor of your preference.
Once this is done, you may then begin creating your template file by carrying out the following:
Step 1: Create a new file and add the following code:
<?php/* Template Name: PageWithNoFooter */?>We recommend using a template name that is not used within any other page templates you may be having within your website, as well as a name that you can easily identify and relate to your site pages.
Once this is done, save your new page template with the .php extension. In our case here, we will name the template file pagewithnofooter.php . You can use any name of your preference but it is more recommendable to use a name similar to your template name.
Step 2: Add your desired code to the file
In this step, you can add your preferred code to the file be it in PHP or both PHP and HTML.
For illustration purposes, in our case here, we will use the contents of the default right-sidebar.php file within the pagewithnofooter.php file but customize it and add the code to render a custom HTML welcome text as well as disable the footer. If you are using another WordPress theme, you can also copy the contents of the page.php within the theme or any other theme defined page template your theme could be having in place.
Our code will hence be as follows:
<?php/*Template Name: PageWithNoFooter */
namespace Stax;
use Stax\Customizer\Config;
stax()->force_main_layout( 'right' );
get_header();?>  <div <?php stax()->main_section_class(); ?>>    <div class="svq-site-content">
      <?php      while ( have_posts() ) :        the_post();        ?>
        <?php        if ( 'yes' === stax()->get_option( Config::OPTION_SINGLE_SHOW_TITLE ) ) {          stax()->get_template_part( 'template-parts/content/panel', get_post_type() );        }        ?>        <main id="primary" class="svq-main-page">          <?php echo ' <H2>Welcome to my custom Template. You can use this template globally within your website</H2>'; ?>          <?php stax()->get_template_part( 'template-parts/content/entry', get_post_type() ); ?>        </main><!-- #primary -->
      <?php endwhile; ?>
      <?php get_sidebar(); ?>
    </div>  </div>
  <?php  //get_footer();
Step 3: Upload the page template to your theme files.
With the help of an FTP program such as Filezilla or via your hosting panel, upload your custom file to the root of your theme files. In our case here, this will be either within the following directory paths:
i) wp-content > Themes > Stax
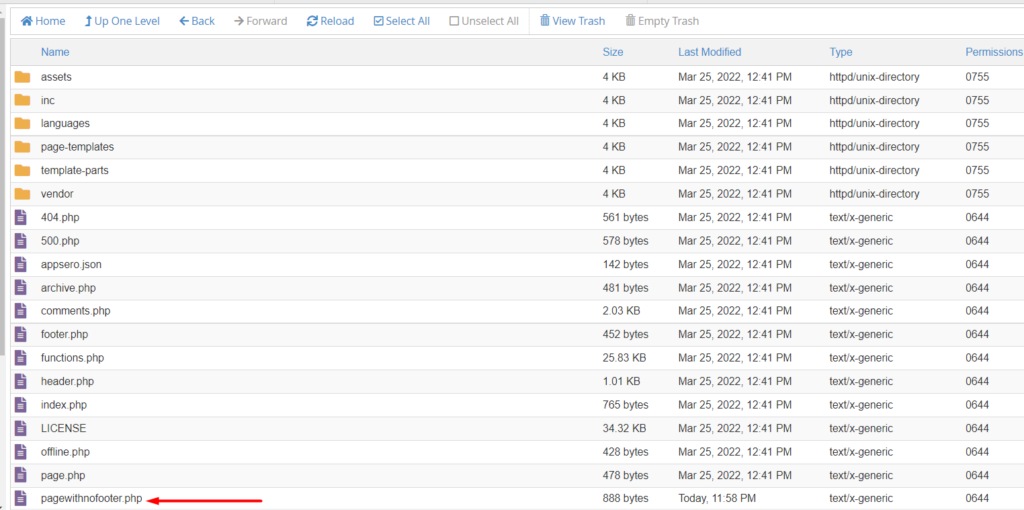
ii) Recommended: wp-content > Themes > stax-child
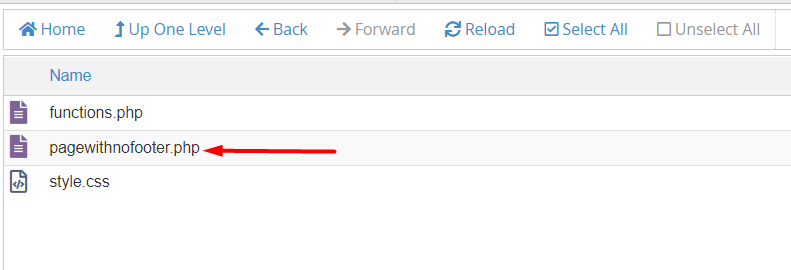
This is applicable while using a child theme within your site, and stax-child is your child theme.
We recommend using the child theme while customizing page templates or any other file customizations within your theme in order to avoid losing customizations during theme updates.
Step 4: Create a new page and assign the “PageWithNoFooter” template to it
To achieve this, navigate to the Pages > Add New section within your WordPress dashboard and create your page.
Once you have created the page, assign the “PageWithNoFooter” template to it and save your changes.
Below is a sample illustration of this:
Now, upon previewing the page on the front-end, our page will have no footer rendered within your page. You will also have the custom HTML that we added.
Below is a screenshot on this:
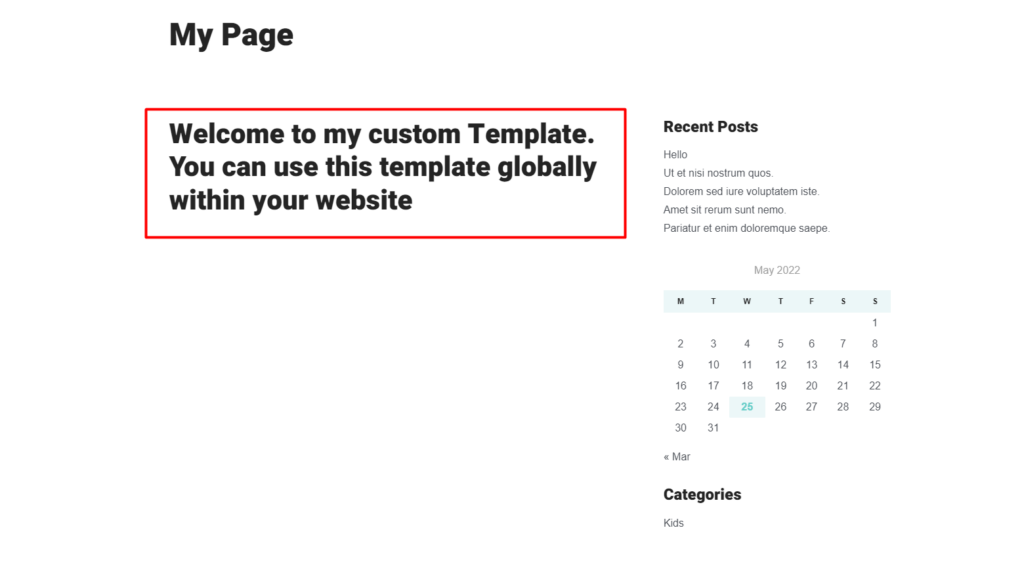
You can use the template within any page where you would like to have its layout applied or else any page that you don’t intend to have a footer.
Creating a single Page template
Custom page templates to single pages are more of page-specific. As earlier on mentioned, these templates are considered for selection if no “page template” is assigned to a page.
As for these templates, you can either target the page by slug or page ID. It is also important to consider the future prospects of your website when determining whether to use a page slug or ID. For example, if you intend to migrate your site to another domain, then using a page ID would not be appropriate when creating your template file. Instead, using the slug would be considered a better option. If on the other hand your site is being managed by multiple people and you feel that there is a possibility they could alter the page slug, then it would be much preferable to use a page ID when creating the page template.
In our case here, we will create a custom page template for our contact page and disable the footer from the page. In order to create such a template you will need to carry out the following:
Step 1: Copy the contents of the page.php
In this step, you will need to first locate the page.php within your theme files.

Once you have located the file, select to edit it and copy its contents.
Step 2: Create a new template to the page
Within the root of your theme files, create the page template to the contact page. You an use either the page-{id}.php or page-{slug}.php file. In our case here, we will use the slug, so we will name our template as page-contact.php since “contact” is our page slug as seen below:
Below is also an illustration on the file location:

Step 3: Paste the contents of the page.php file
You will now need to paste the contents of the page.php file we copied in step 1 above to our new page-contact.php file. Upon doing this, you can then customize the file to incorporate your desired code changes and save your changes. In our case we will be disabling the footer in the contact page so our final code will read as:
<?php
namespace Stax;get_header();?> <div <?php stax()->main_section_class(); ?>> <div class="svq-site-content">
<?php /** * Renders the single blog post template. * * @hooked stax_show_single - 10 * @includes template-parts/single.php */ do_action( 'stax_single' ); ?>
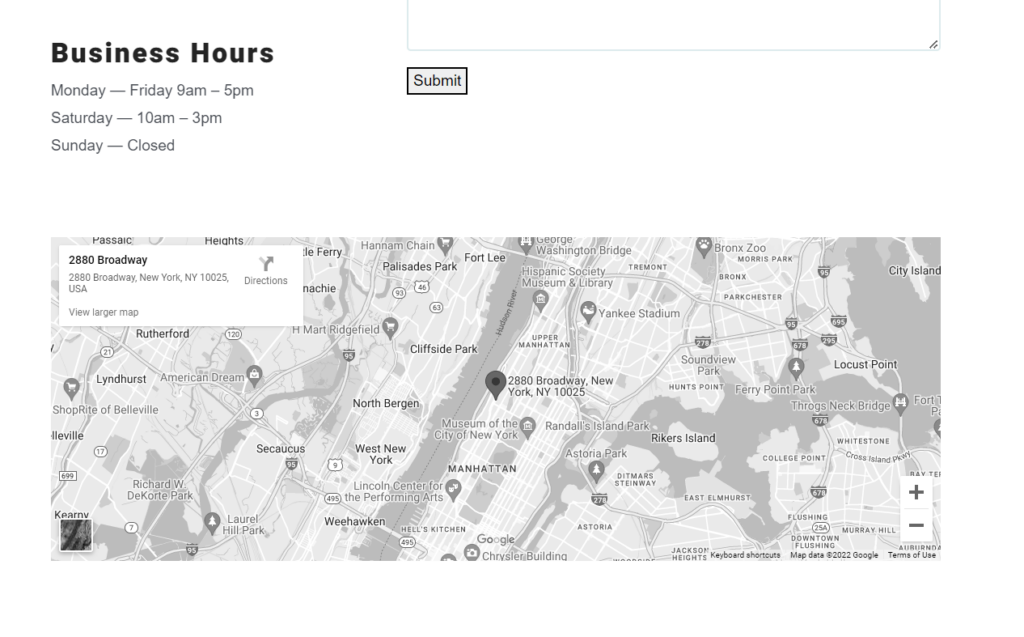
</div> </div> <?php //get_footer();Upon now previewing your contact page, you will realize that the page does not incorporate a footer.
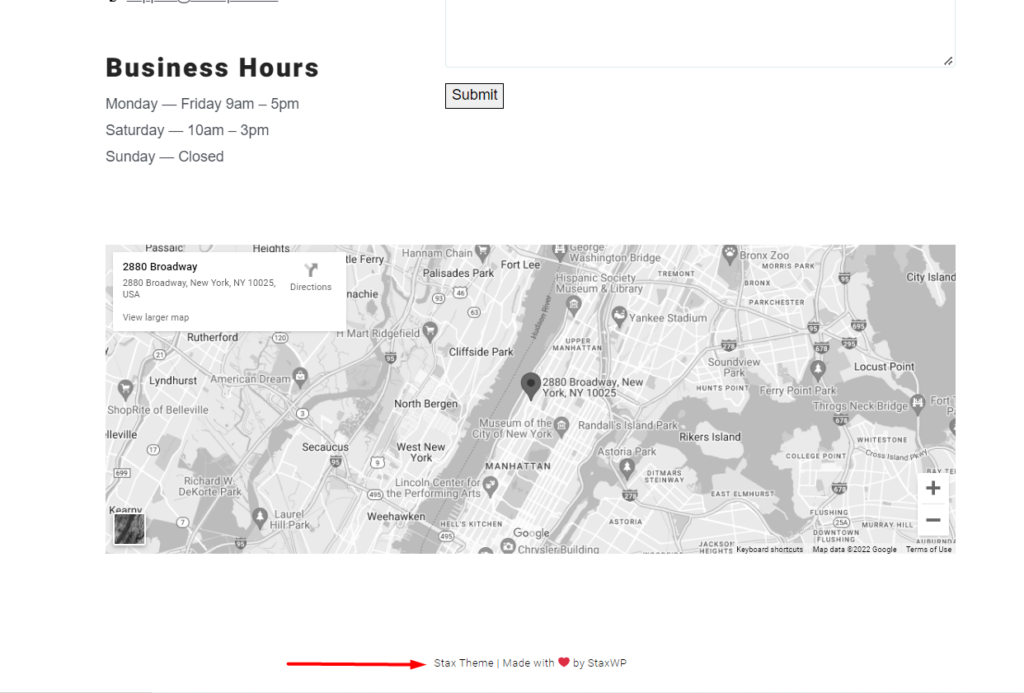
Below is a screenshot comparison on the page initially and after the new template is applied.
Contact Page With Footer
Contact Page with no Footer
Conclusion
Creating custom page templates for your website is relatively easy. Within this guide we have specifically looked into how to manually create custom templates within your WordPress theme. We have used the free Stax Theme as the use case here. You can however apply the same technique across all other WordPress themes that follow the WordPress coding standards. There are however other ways you can also create custom page templates such as using page builders like Elementor.
We hope that this article provides the necessary insights into how you can manually create custom page templates. Feel free to comment below in case of any questions or suggestions.