How To Display Extended Profile Fields on BuddyPress Member Profiles
Table of contents
Extended Profile Fields in BuddyPress help site owners collect additional user profile details. For example, you can have a field such as “Gender” that you intend users to specify their gender.
Rendering of these profile fields on the frontend within user profiles will hence be required. In a default BuddyPress Installation this is something that would entail some custom work to implement.
Within this article we will focus on how to add the Extended Profile Fields and render them within User Profiles.
Requirements: BuddyPress plugin, BuddyBuilder plugin
Field Groups
Field Groups serve as a container of Fields.
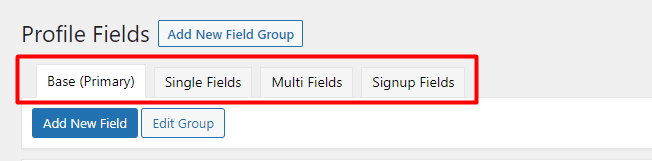
These are located within the Users > Profile Fields section within the WordPress dashboard.
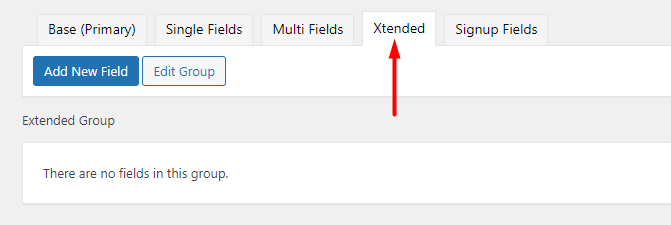
To add a new field group, you can do so by clicking on the “Add New Field Group”. You can then add a Group Name and Description.
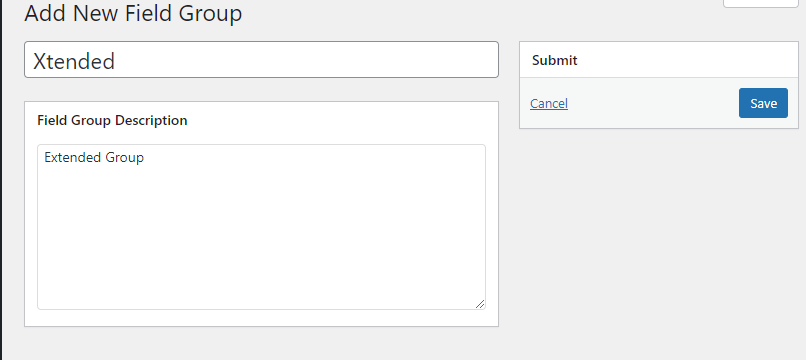
You should then have a display as illustrated below:
Creating Extended Profile Fields
Within the newly created field Group, you can then add a user field of your preference.
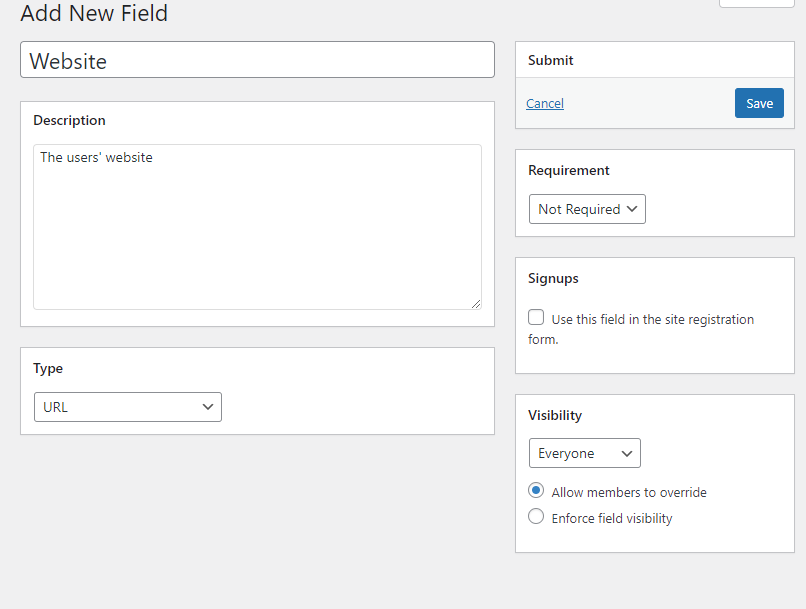
If you wish to add the field within the registration form, ensure that you check the option “Use this field in the site registration”.
Installing BuddyBuilder
BuddyBuilder allows you to create custom BuddyPress templates that you can use within the site. To use the plugin, you need to also install at least the free version of the Elementor plugin.
As for this article, you will need to install the free and pro version of the BuddyBuilder plugin. To do so, download the free version of the plugin from here and navigate to the Plugins > Add New section within your WordPresss dashboard where you can have it uploaded.

As for the pro version of the plugin, you can have this purchased from here .
Once you receive the plugin, you can then upload it from the Plugins > Add New section within your WordPress dashboard, similar to the free version.
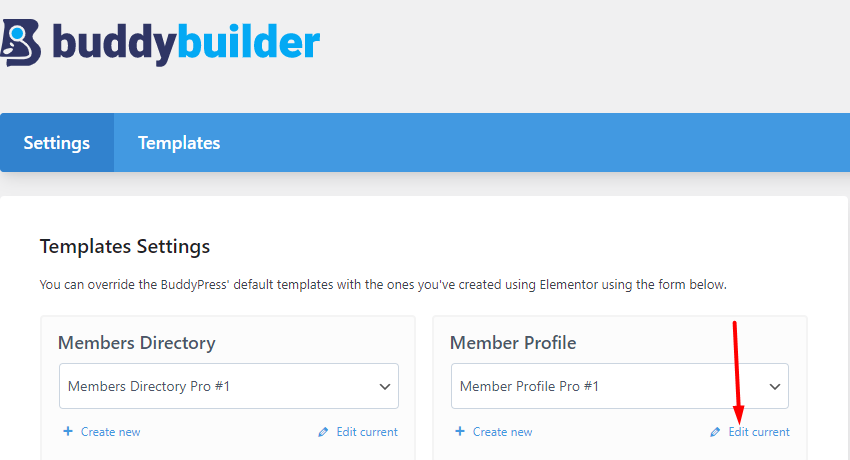
Displaying Extended Profile Fields in Member Profile Templates
We now need to display the extended profile field we created earlier on our user profile pages. User profile pages are rendered using the BuddyBuilder member profile templates. For details on how to setup member profile templates, you can check out the guide here.
You will then need to edit the member profile template via Elementor.
Select the Member XProfile Field and drag it to the section you would wish to render the profile field.
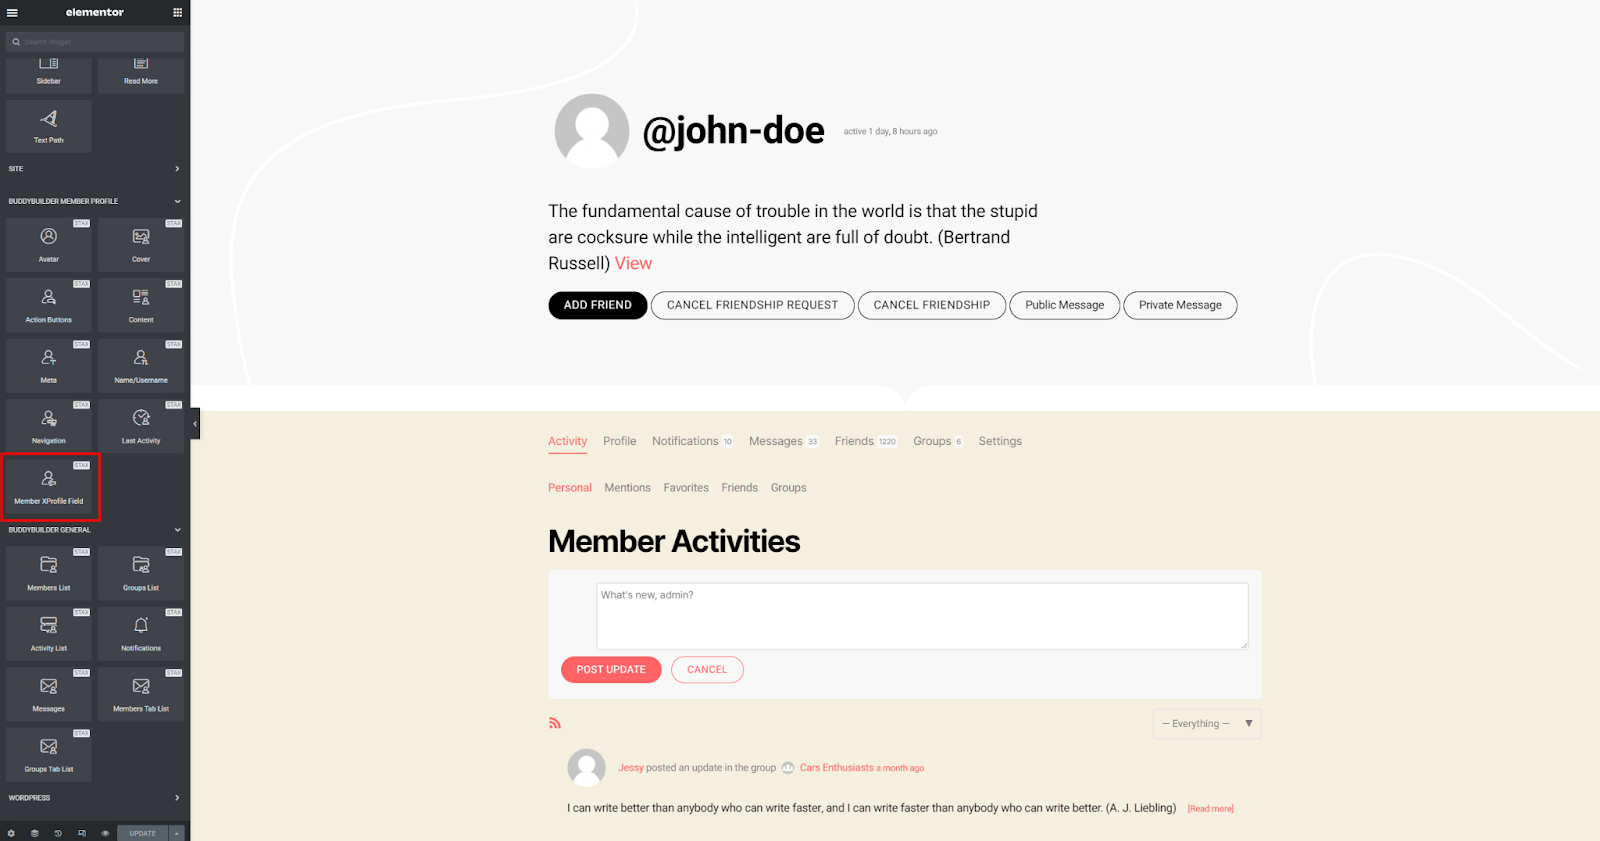
Once this is done, select the field we created
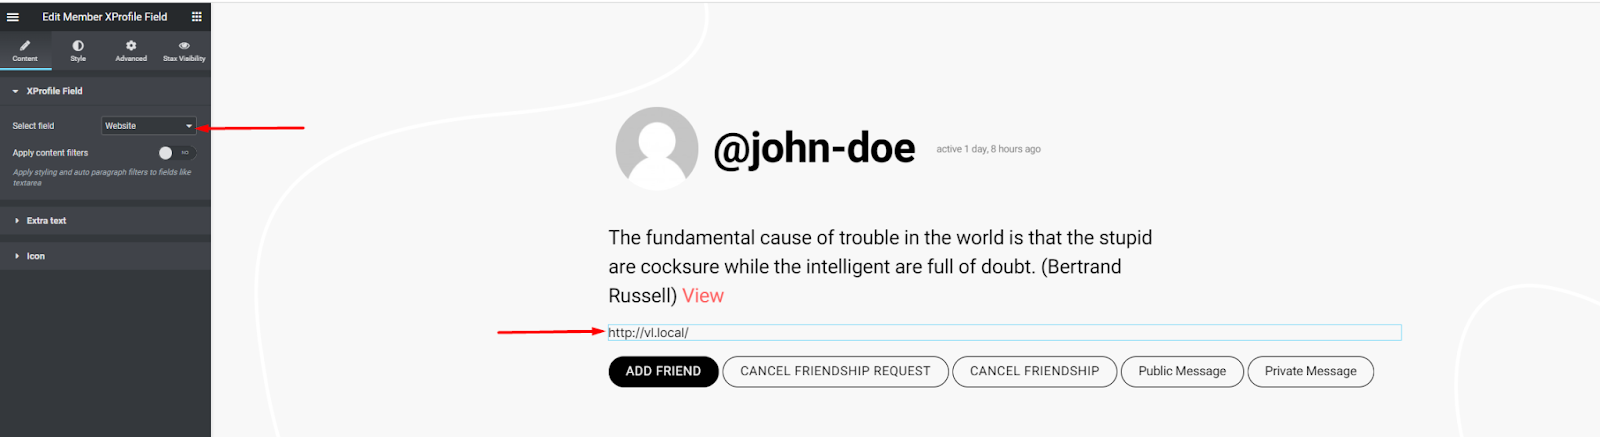
Once selected, the field value of the user will then be rendered, if the user has added it as can be seen in the above screenshot.
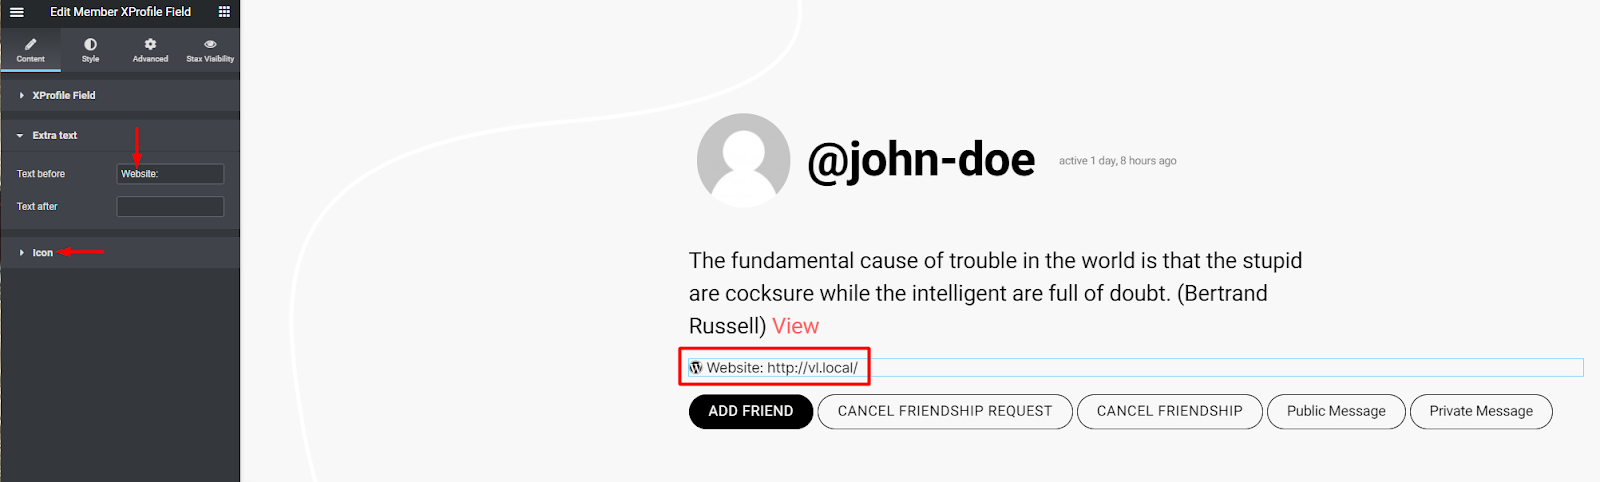
You may also add an icon, and text to be rendered next to the field value, of which can server as a label:
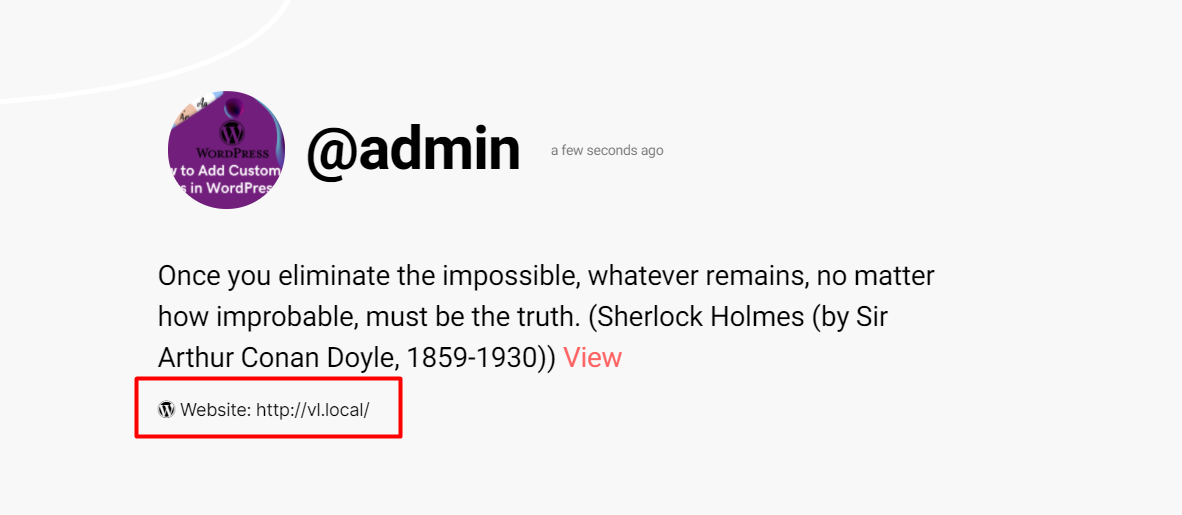
Once you save your changes, users can then view the field within their profile pages.
Conclusion
BuddyPress provides a nice feature in terms of capturing extended profile data. Retrieving and displaying this data to user profiles is however not that easy to novice users as it would involve custom work.
As we have seen in this article, BuddyBuilder makes this process pretty easy for users to implement, without any coding knowledge required.