
How to Customize BuddyPress Profile Pages with Elementor
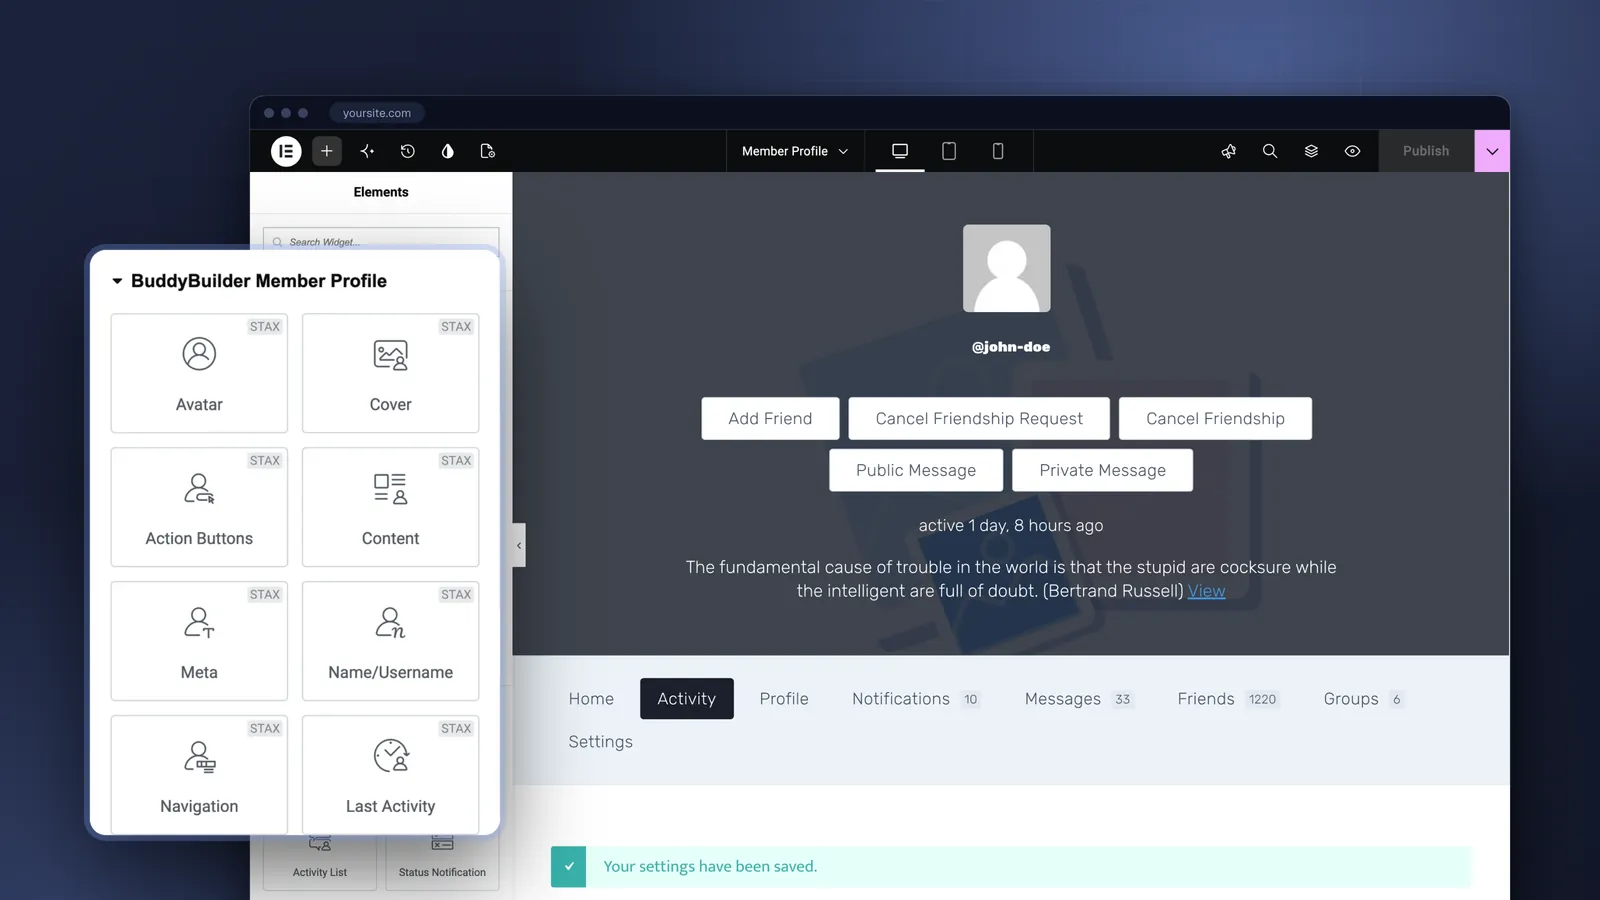
Table of contents
To customize BuddyPress profile pages with Elementor, install the free BuddyBuilder plugin next to BuddyPress and Elementor, open BuddyBuilder in WordPress admin, and import the starter template or create a new Member Profile template. You then design the profile in the Elementor editor with drag-and-drop components for the avatar, cover image, name, navigation, action buttons and content. The same works on BuddyBoss Platform.
BuddyBuilder exists to answer the question in the next heading. Here is the full process, two mistakes that are easy to make, and the other ways to change a BuddyPress profile if a page builder is more than you need.
Why can’t Elementor edit BuddyPress profiles on its own?
Because there is no page to edit. BuddyPress builds the member profile, the group pages, the directories and the activity feed from PHP template files, so there is no regular WordPress page behind a profile for Elementor to open. Elementor also has no widgets for the pieces a profile is made of: the cover image, the profile navigation, the activity stream.
BuddyBuilder replaces the default BuddyPress templates with Elementor templates and adds more than 28 components for those pieces. It does this for any theme, which is the point: your community pages stop depending on what your theme decided a profile should look like.
What do you need?
- WordPress 5.0 or newer and PHP 7.4 or newer.
- BuddyPress, or BuddyBoss Platform.
- Elementor. The free version is enough.
- BuddyBuilder, free on WordPress.org.
The details are in the plugin requirements.
Step 1: Install BuddyBuilder
Make sure Elementor and BuddyPress (or BuddyBoss Platform) are active first. Then go to Plugins > Add New, search for BuddyBuilder, install and activate it. A BuddyBuilder menu appears in WordPress admin and opens on a welcome screen. More in Installing BuddyBuilder.
Step 2: Turn on the BuddyPress components you use
Go to Settings > BuddyPress > Components and activate what your community needs: Extended Profiles, Activity Streams, User Groups, Friend Connections and so on.
Do this before you import anything. Templates are imported only for the components that are active at that moment. If Groups is off during the import, you get no group templates, and it looks like the import failed. This is the first of the two mistakes.
Step 3: Import the starter template kit
The quickest start is a ready-made kit:
- Go to BuddyBuilder > Templates.
- With the free plugin you see the Free Starter Template. Click Demo to preview it and Import to add it to your site.
- Go back to the main BuddyBuilder screen to confirm the templates are there. Your profile, group, directory and activity pages now use them.
The steps with screenshots are in Importing BuddyBuilder templates. On BuddyBoss Platform the procedure is the same; see BuddyBoss templates setup.
Even if you plan to design everything yourself, import the kit once. Taking a working template apart teaches you the components faster than starting from a blank page.
Step 4: Edit the member profile in Elementor
- Go to BuddyBuilder in WordPress admin. Under Member Profile you find the imported template. Open it with Elementor, or click Create New to start from an empty one.
- In the Elementor panel, scroll down to the BuddyBuilder Member Profile elements.
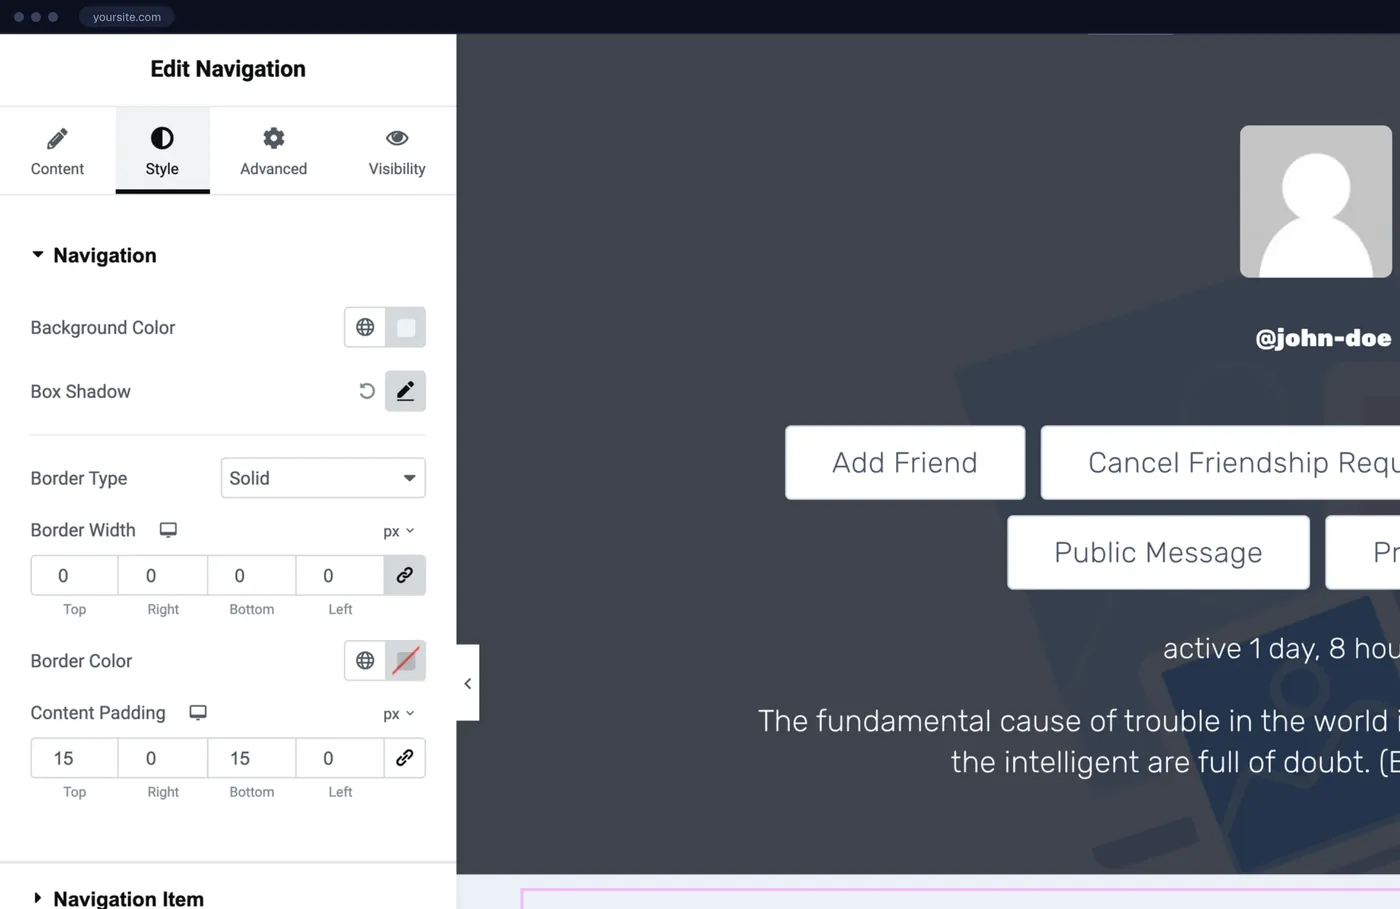
- Drag the components you want into your layout and style them like any Elementor widget.
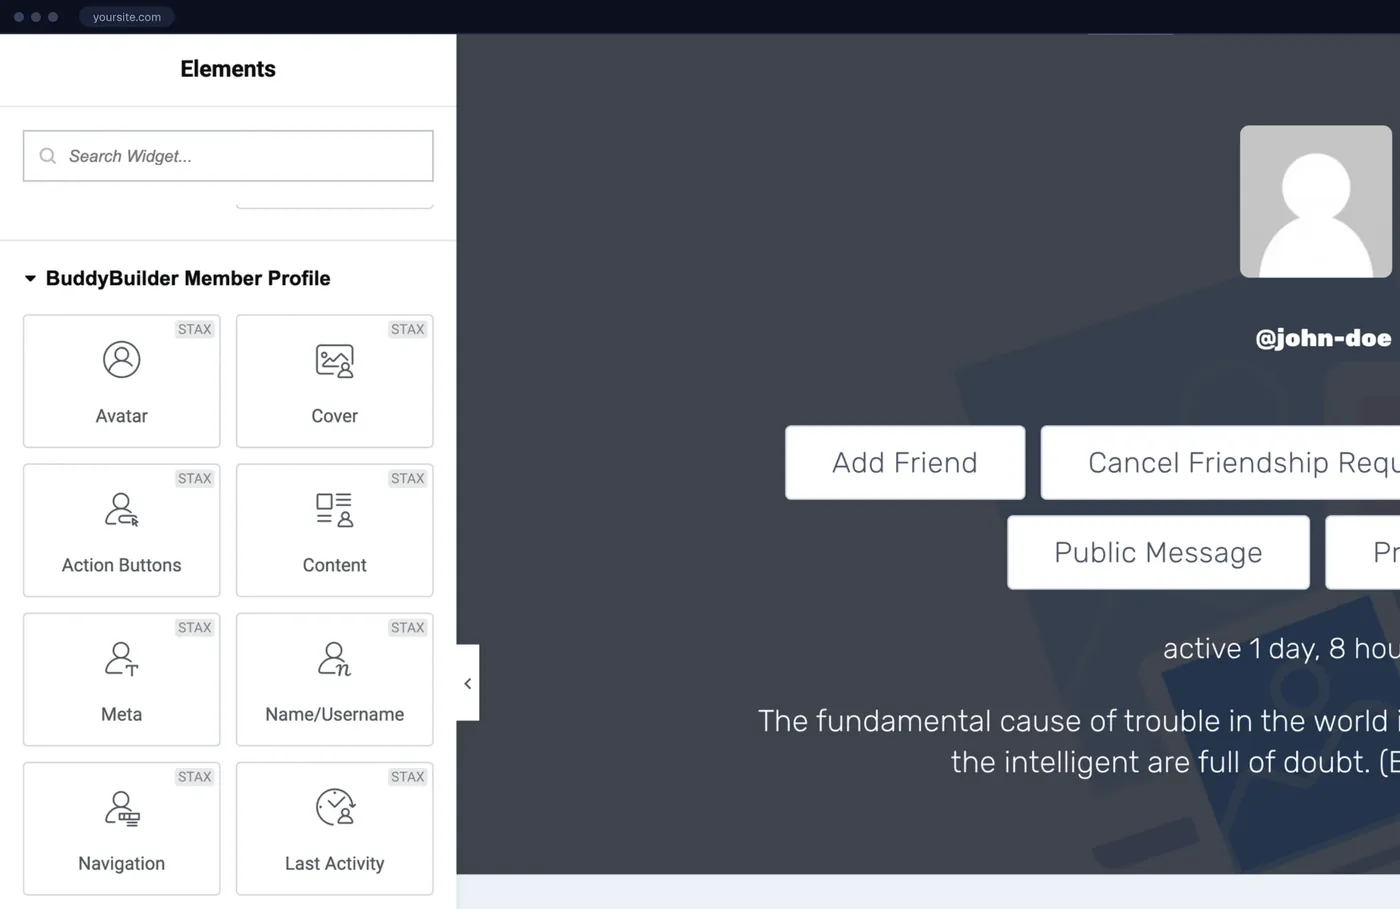
A typical profile header is a two-column section: the avatar on the left, and the name, last activity and action buttons on the right, with an image as the section background. Under it go the profile navigation and the profile content.
The second mistake lives here. You add the Cover component, a member uploads a cover image, and nothing shows on the profile. The Cover component needs a height. Without one it collapses to nothing. It comes up often enough that it has its own doc page.
Our tutorial with exact settings, down to the avatar width and border radius, is How to create a custom members profile with BuddyBuilder and Elementor.
Which profile components are there?
| Component | What it shows |
|---|---|
| Avatar | The member’s profile image |
| Cover | The profile cover image (set a height) |
| Name | The member’s name, with typography controls |
| Last activity | When the member was last active |
| Action buttons | Add friend and the other profile actions |
| Profile navigation | The profile menu: Activity, Profile, Friends, Groups and so on |
| Content | The content area of the current profile tab |
| X-Profile fields (Pro) | Custom profile fields, placed where you want |
The one to understand is Content. A profile is not one page but a set of tabs, and the Content component renders whichever tab the visitor is on: the activity list, the profile fields, the friends grid. Your header and navigation stay the same around it.
Groups have matching components (name, avatar, cover, description, status, leadership, navigation, buttons, content). There are also components for the members and groups directories and for the activity feed, plus Members Grid, Groups Grid and Activity List widgets that you can drop on any regular Elementor page.
Step 5: Check the result as a member
Open a member profile on the front end, both logged in and logged out, on desktop and on a phone. Click through every profile tab, since Content shows a different screen on each. Look at your own profile and at someone else’s: the action buttons differ. If you use a caching plugin, clear the cache after you change a template.
What does BuddyBuilder Pro add?
The free plugin covers the design of profiles, groups, directories and the activity feed. Plenty of sites never need more. BuddyBuilder Pro adds:
- The X-Profile fields widget, to show custom profile fields inside your layout
- Register page customization
- Live notifications and messages widgets for any template or menu
- Members and groups list tabs, and a post update form widget
- More template kits, including a BuddyBoss Platform kit
Pro costs $39 per year for 1 site, $59 for 3 sites and $99 for 100 sites. There is a 30-day money-back guarantee.
What are the alternatives?
A page builder for BuddyPress is not always the right answer. In order of effort:
CSS only. For small changes (colors, spacing, hiding one element), custom CSS in the Customizer is enough. Do not install a plugin to change a button color.
Theme options. Many BuddyPress themes style the profile for you and offer a few layout options. If you like the theme’s design, this is the least work. KLEO, the community theme from our sister brand SeventhQueen, comes with a designed profile header out of the box.
Template overrides in a child theme. BuddyPress lets you copy its template files into a child theme and edit the PHP and CSS. It is free and you can change anything. It also needs a developer, and you own the maintenance whenever BuddyPress updates its templates.
BuddyBuilder. The right fit when you want a visual editor and your own layout, with no PHP, on whatever theme you already use.
The short version
BuddyPress profiles come from templates, so Elementor cannot edit them directly. Install BuddyBuilder, activate the BuddyPress components you use, import the Free Starter Template and edit the Member Profile template in Elementor. Give the Cover component a height. Start with the free plugin and move to Pro when you need X-Profile fields, the register page or the live widgets.
Frequently asked questions
Can I edit BuddyPress profile pages with Elementor?
Not with Elementor alone: BuddyPress pages come from PHP templates. The BuddyBuilder plugin adds Elementor components for the member profile, group pages, directories and the activity feed, so you can design those pages in the Elementor editor.
Is BuddyBuilder free?
Yes. The free version on WordPress.org includes the profile, group, directory and activity components and a starter template kit. BuddyBuilder Pro adds X-Profile fields, register page customization, live notifications, messages, tab widgets and more template kits, from $39 per year.
Does BuddyBuilder work with BuddyBoss?
Yes. BuddyBuilder supports BuddyBoss Platform as well as BuddyPress. The free starter template works with both, and BuddyBuilder Pro includes a BuddyBoss Platform kit.
Do I need Elementor Pro?
No. BuddyBuilder works with the free Elementor plugin. It adds its own components to the Elementor panel.
Will it work with my theme?
Yes. BuddyBuilder is theme-independent. The layouts are built in Elementor, so the community pages look the same with any well-coded WordPress theme.