A child theme is a theme that inherits all the functionality and styling of the parent theme. It helps you make code customizations whereas leaving your parent theme intact.
In addition, child themes help in providing a safe ground in ensuring that you don’t lose your customizations during a theme update, if any had actually been carried out. This helps in saving time in the long-run, by ensuring that you don’t also have to carry out the customizations over again, after a theme update.
There are two ways that you can create a Stax child theme. These include:
- Ready to download Stax child theme
- Create one by custom code
- Generate the child theme using a plugin
Ready-to-use Stax Child theme
- Download the child theme from the link: (Stax Child theme)
- Navigate to the Appearance > Themes > Add New section within your WordPress dashboard
- Upload the downloaded child theme
- Activate the child theme
Via Custom Code
In order to create a child theme via custom code, you will need to carry out the following:
- Login to your server via an FTP software such as Filezilla, using your host, username, password and port details.
- Once logged in, navigate to the public_html > {your site folder} > wp-content > themes folder
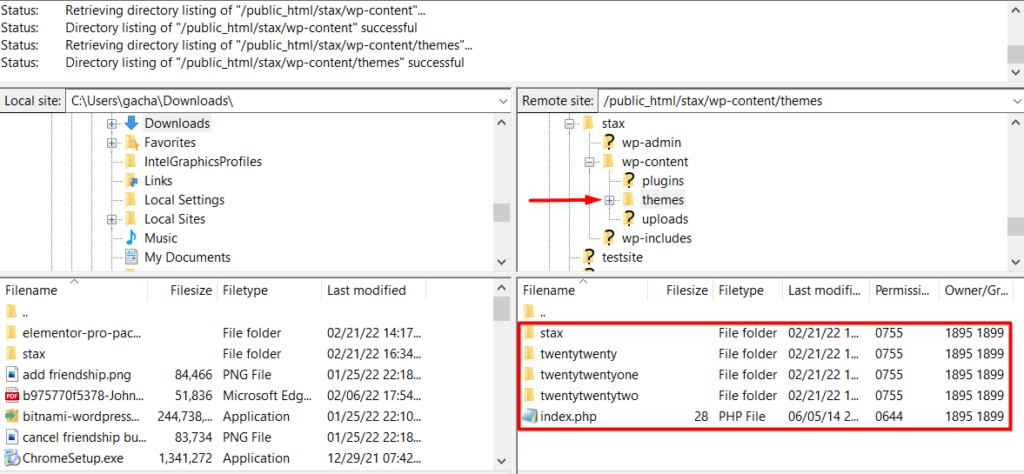
On the directory listing below, you can see that we have the Stax theme already installed.
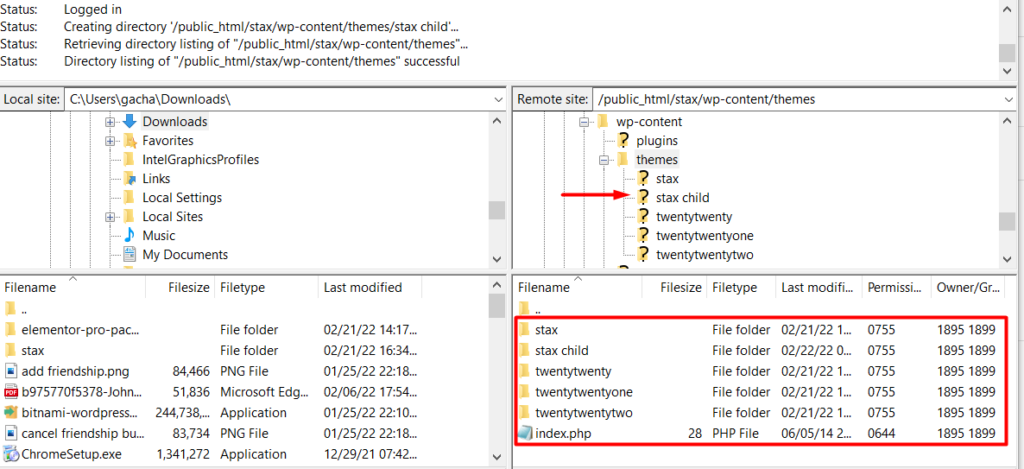
- Create a new folder within the themes directory and name it “stax child”
Once this is done, you should now have a view of the child theme directory as illustrated below:
- Next, create a stylesheet file named style.css on your local computer, using a tool such as notepad, Xcode or sublime text
- Add the following code within the file:
/*
 Theme Name:   stax child
 Theme URI:    https://staxwp.com/stax-theme
 Description:  Stax is fast, lightweight and super customizable theme that uses the latest technologies.
Tags: blog, e-commerce, news, grid-layout, one-column, two-columns, three-columns, left-sidebar, right-sidebar, custom-colors
 Author:       StaxWP
 Author URI:   https://staxwp.com
 Template:     stax
 Version:      1.0.0
 License: GNU General Public License v3 or later
 License URI: LICENSE
 Tags:         light, dark, two-columns, right-sidebar, responsive-layout, accessibility-ready
 Text Domain:  stax child
*/
- Create a file named functions.php file on your local computer and add the following code:
<?php

add_action( 'wp_enqueue_scripts', 'my_stax_child_enqueue_styles' );
function my_stax_child_enqueue_styles() {
    wp_enqueue_style( 'parent-style', get_template_directory_uri() . '/style.css' );
    wp_enqueue_style( 'child-style',
        get_stylesheet_directory_uri() . '/style.css',
        array('parent-style')
    );
}
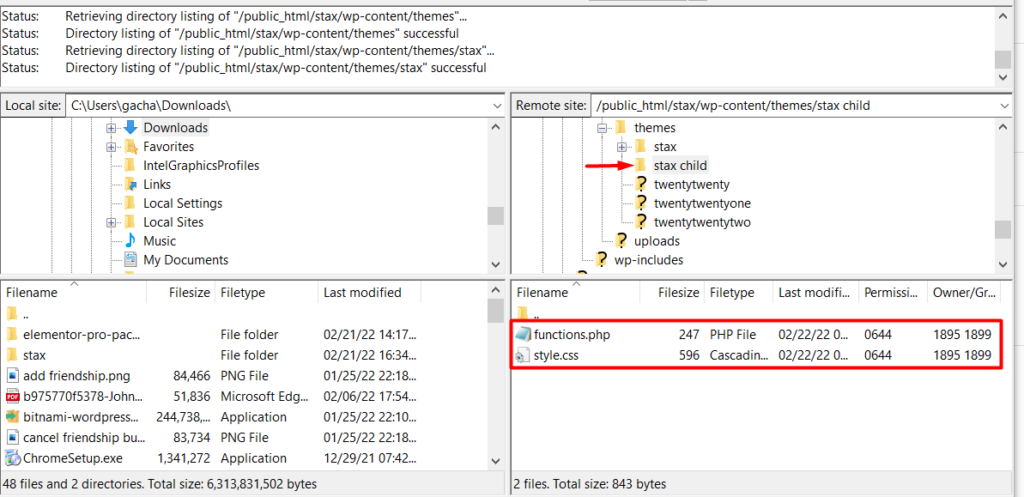
- Now upload these two files within the public_html > {your site folder} > wp-content > themes > stax child folder
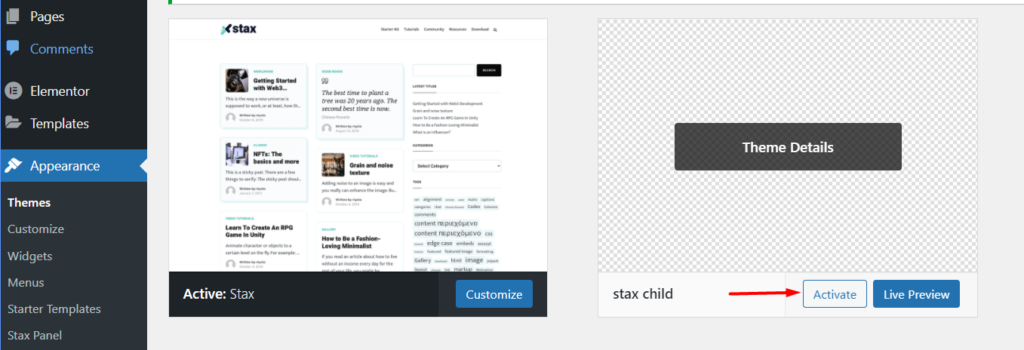
- Navigate to the Appearance > Themes section within your WordPress dashboard and here you should now have the child theme installed as seen below:
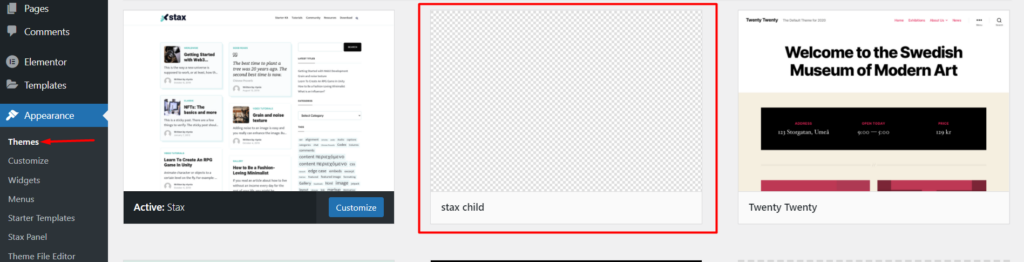
- Hover over the “stax child” theme and click on the “activate” button to have the child theme activated
Using a plugin
Child themes can easily be created using a plugin. We recommend using the Generate Child Theme plugin.
In order to utilize the plugin in the child theme creation, you will need to carry out the following steps:
- Install and activate the Generate Child Theme plugin. Here is guide on how to install WordPress plugins
- Navigate to the “Generate Child theme” tab
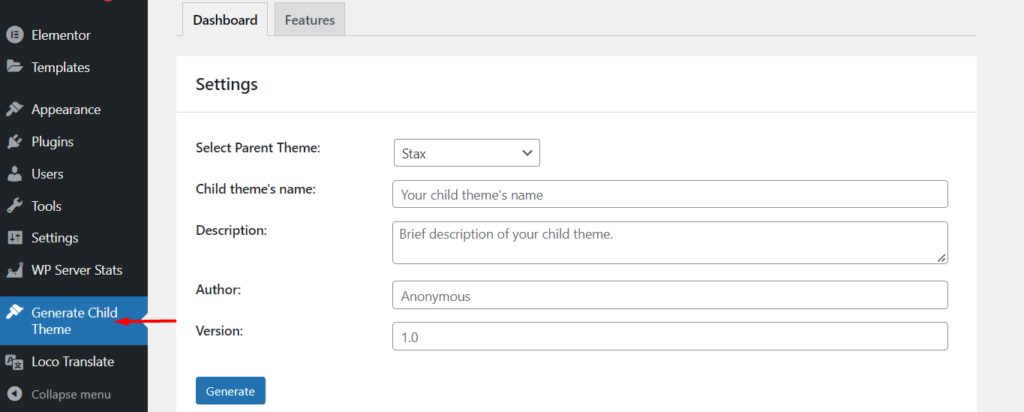
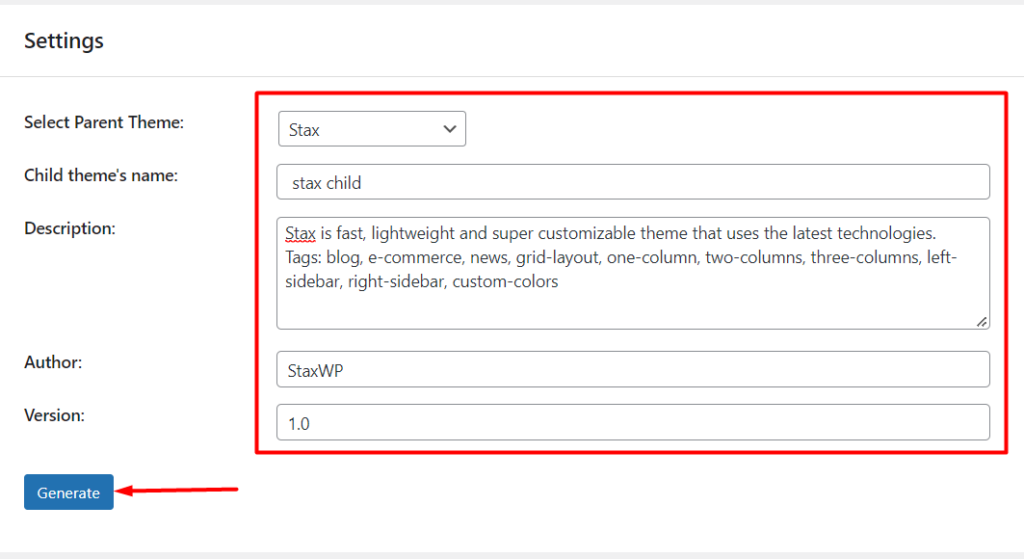
- Within the dashboard section, select the parent theme “stax” , specify the rest of the settings as illustrated in the screenshot below and click on the “Generate” button:
- You will then be redirected to the Appearance > Themes section where you will have the “stax child” theme installed and activated.
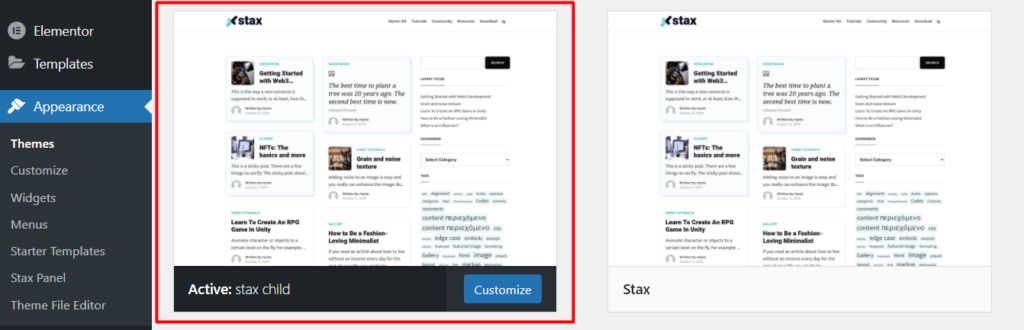
With the above carried out, you can now proceed to customizing your theme.


