How to Create and restore Backups to your Website
Overview
Section titled “Overview”Creating a backup to your website is a very important step and hence shouldn’t be ignored. There are a number of occurrences when a backup would come in handy. Some of these include:
- Issues resulting from a theme update
- When there is a malware infection on the site
- Issues resulting from plugin conflicts
- When there are unprecedented changes carried out on a website
Within this doc, we will look into how to create and restore a backup using the free UpdraftPlus Backup plugin.
Creating a Backup Using UpdraftPlus
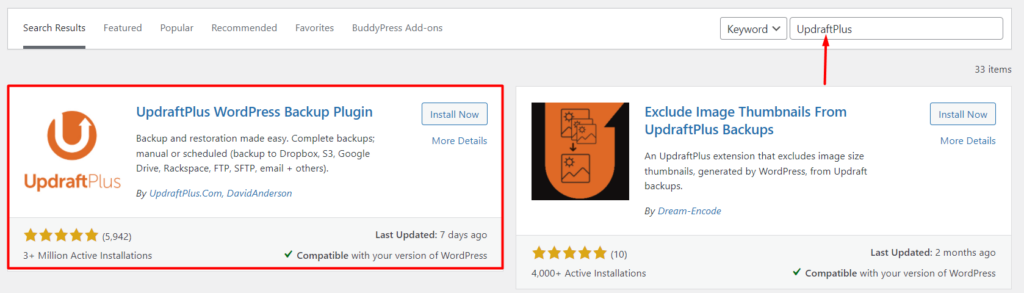
Section titled “Creating a Backup Using UpdraftPlus”In order to create a backup to the site, you will need to begin by installing the plugin. The plugin can be installed by navigating to the to the Plugins > Add New section within your WordPress dashboard, search for “UpdraftPlus” and have it installed and activated.
The plugin can be configured to carry out manual or regular backups as seen below.
Configuring Regular Backups
Section titled “Configuring Regular Backups”In order to setup regular backups, navigate to the Settings > UpdraftPlus Backups > Settings section.
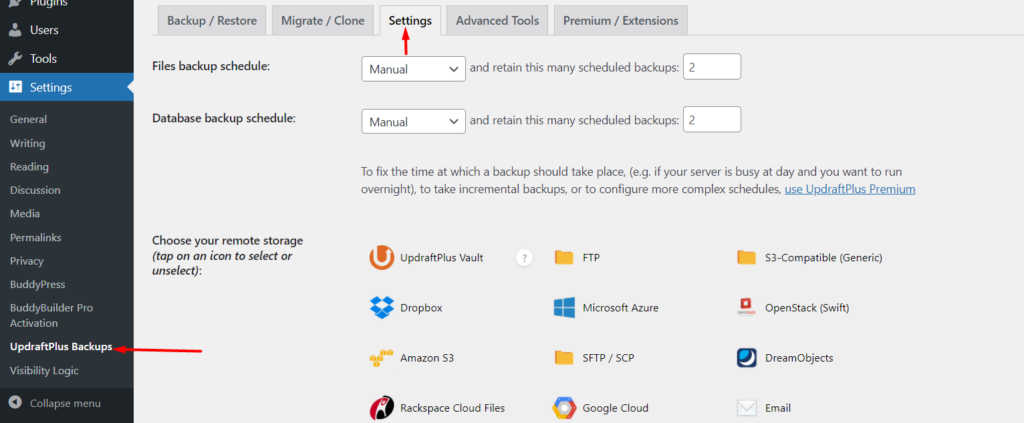
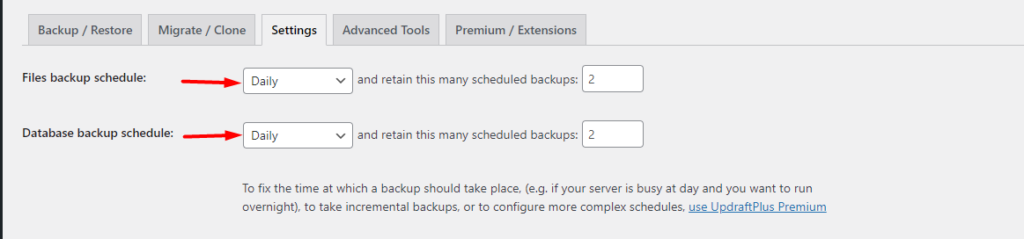
Within the “Files backup schedule” field, specify any of your desired backup schedule provided within the dropdown, apart from “manual”. Also do the same for the “Database backup schedule” field.
The next step would be to choose your desired remote storage from the available options:
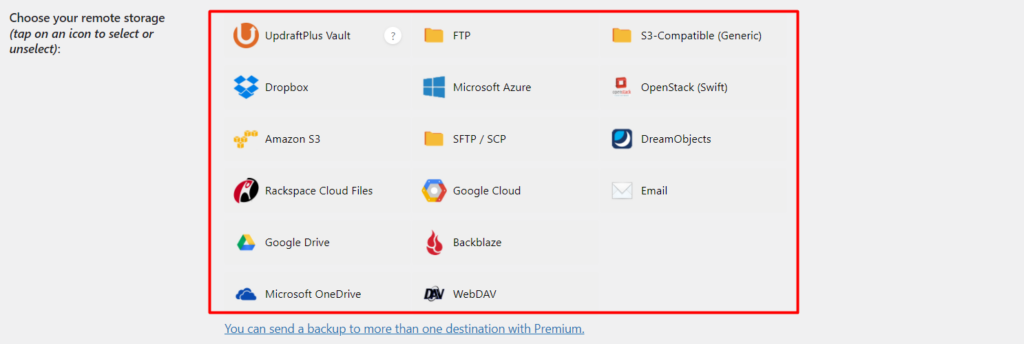
Each of the options when selected will require some integration to be carried out. Once done with it, you can leave the rest of the options down the page to their defaults and save your changes.
With this carried out, you will then have regular backups for your website to your selected remote storage section.
Configuring Manual Backups
Section titled “Configuring Manual Backups”To configure manual backups, you will need to navigate to the Settings > UpdraftPlus Backups > Backup / Restore and click on the “Backup Now” button.
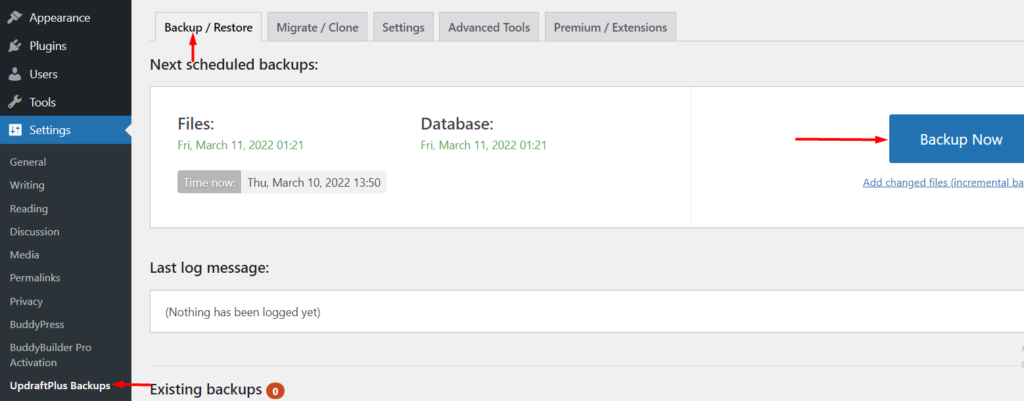
You will then be presented with a popup where you can specify your desired backup options:

Once the backup is complete you can download it to your computer. Alternatively, you may setup a remote storage for your backup prior to carrying out the backup and select the option ” Send this backup to remote storage” within the popup.
Restoring a backup
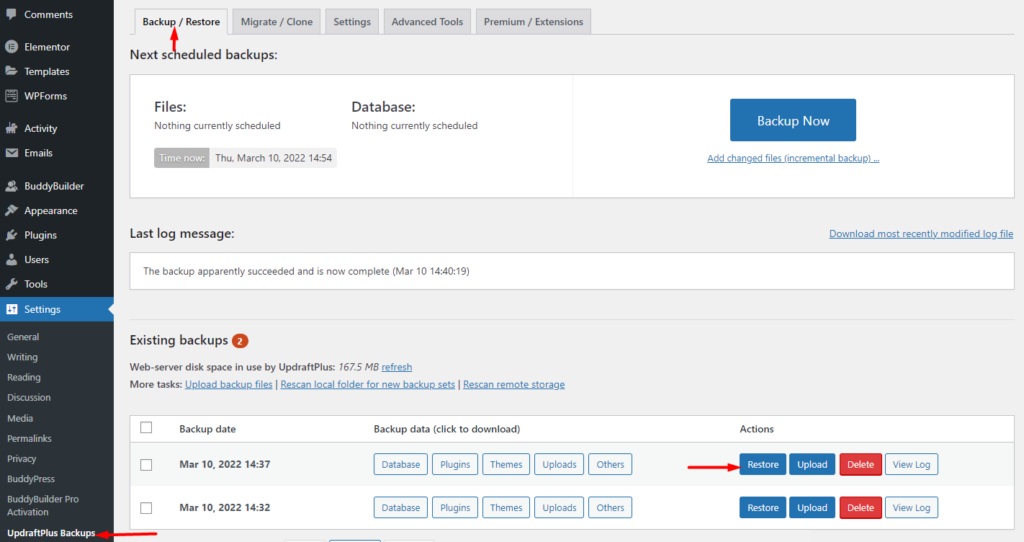
Section titled “Restoring a backup”In order to restore a backup, navigate to the Settings > UpdraftPlus Backups > Backup/ Restore and click the “Restore” button within the backup you would wish to restore.
On the next screen, select the components you wish to restore and click the “Next” button

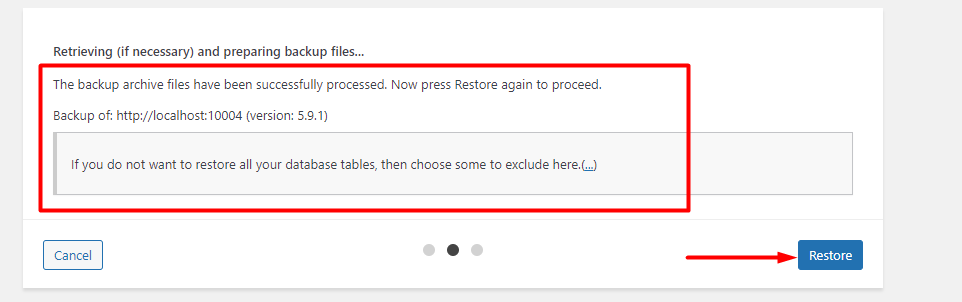
Await the retrieval of the files and click on the “restore” button
On the next screen the restoration will begin

Once the process is complete, you will have a report indicating that the restoration is successful as illustrated below:
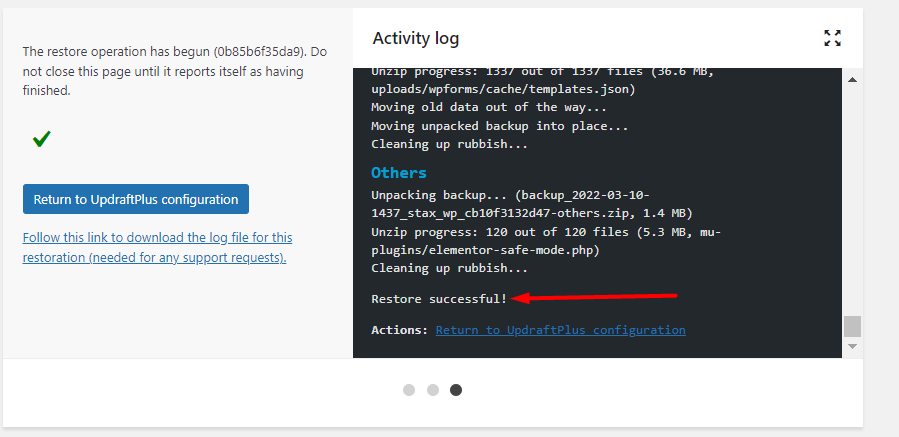
From this point, you can then click on the “Return to UpdraftPlus Configuration”.