How To Add Custom Fonts
Overview
Section titled “Overview”The Stax theme comes with a huge collection of fonts. A list of these files can be found within each of the sections under Appearance > Customize > Typogrpaphy.
You may however wish to add a custom font of your preference. Within this guide, we will look into how you can go about this with the help of the Custom Fonts plugin.
Installing the Custom Fonts Plugin
Section titled “Installing the Custom Fonts Plugin”In order to install the Custom Fonts Plugin:
i) Navigate to the Plugins > Add New section within your WordPress dashboard and search for “Custom Fonts”
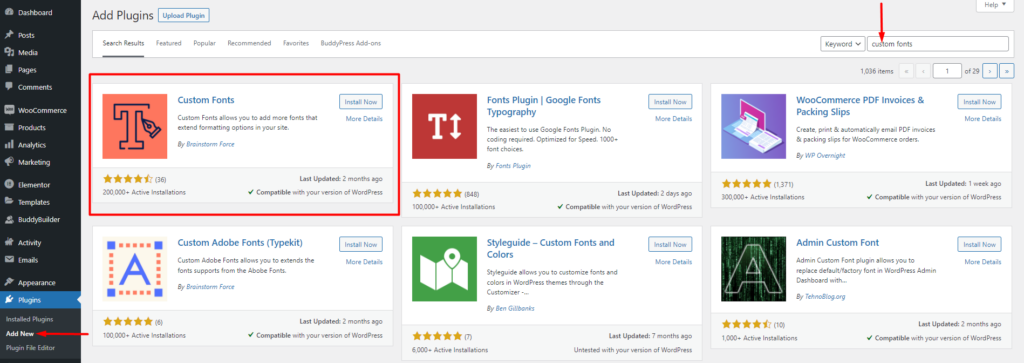
ii) Proceed to installing and activating the plugin
Downloading Your Custom Font
Section titled “Downloading Your Custom Font”Your custom font could be from any available repository out there. Some of the common repositories are Google Fonts and Adobe Fonts.
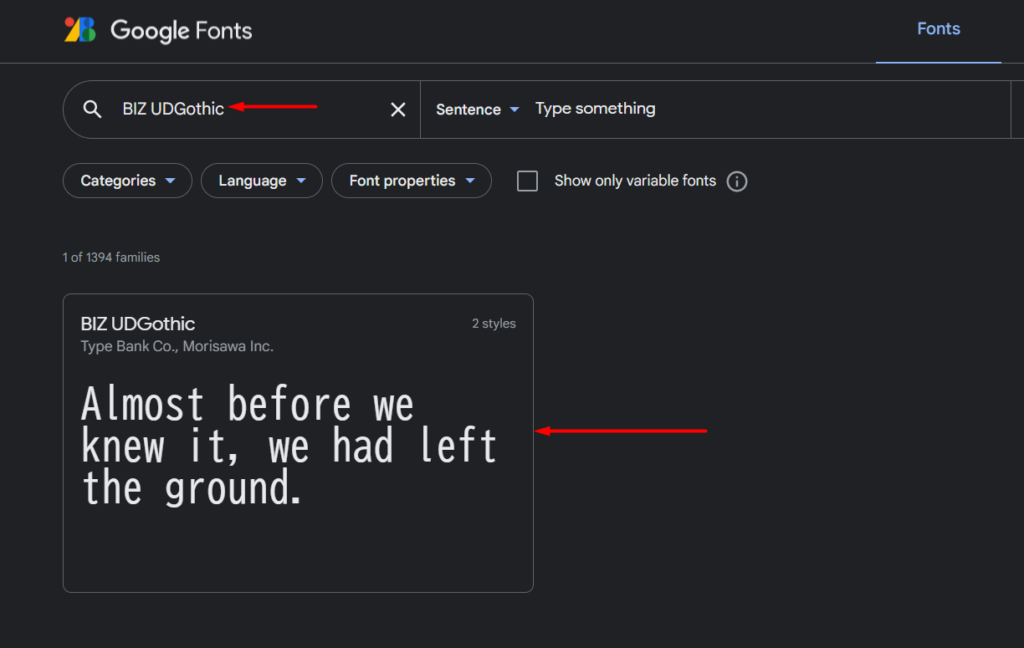
Within this guide, we will use the Google Fonts repository for our example here. We will download our desired font which is “BIZ UDGothic”. To do so;
i) Navigate to fonts.google and search for “BIZ UDGothic”
ii) Click on the font and download the font family
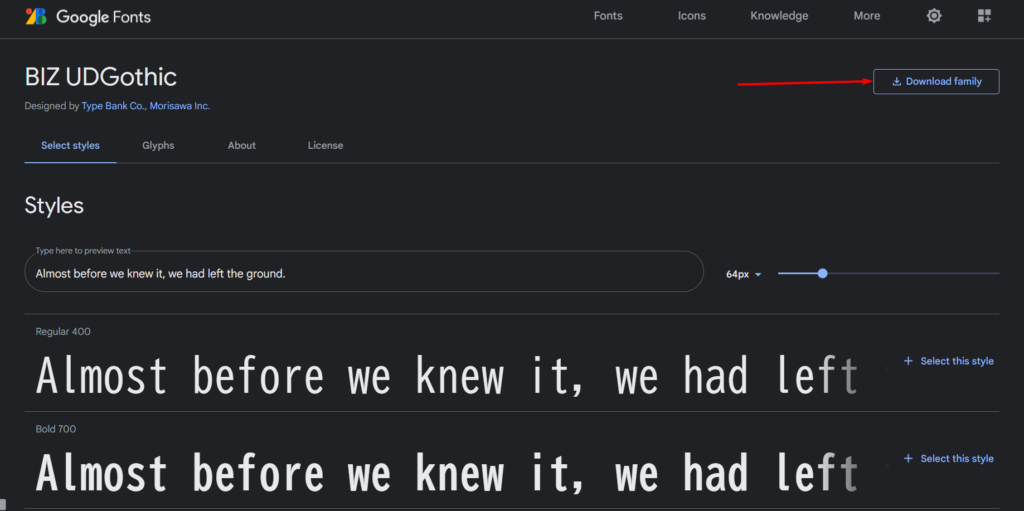
Once the download is complete, you will have a zip file with the font styles.
iii) Extract the zip file to your local computer
Uploading The Font
Section titled “Uploading The Font”In order to now upload the custom font, you will need to carry out the following:
i) Navigate to the Appearance > Custom Fonts section within your WordPress dashboard

ii) Add a name to your custom font. In our case here, we will use “BIZ UDGothic”
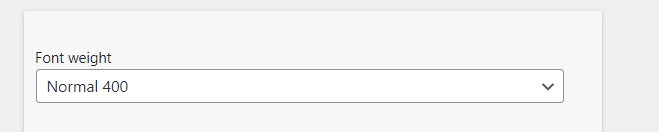
iii) Set the font weight of your font. This is based on the styles available for your font. In our case here, our font has two styles ” Regular 400″ and “Bold 700”;
We will hence first set the font weight to “Normal 400”.
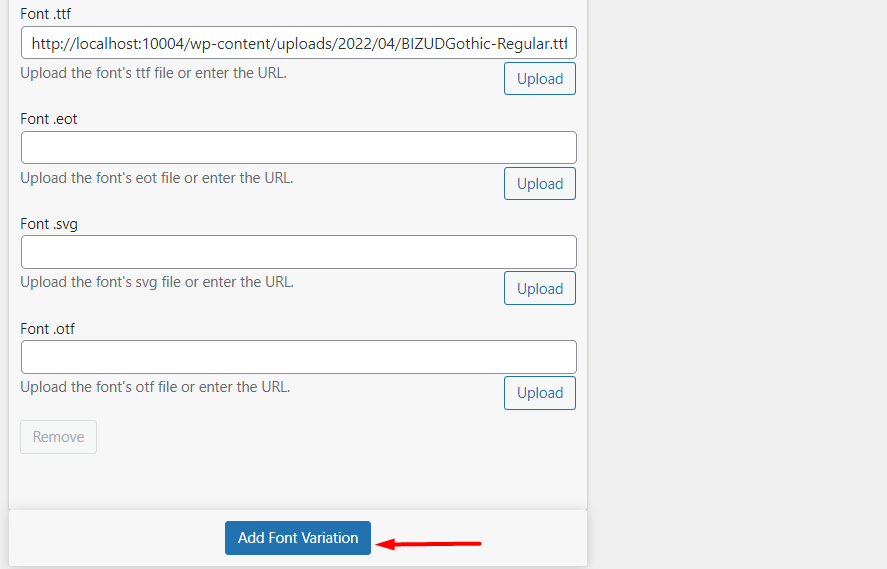
iv) Upload your font file depending on your fonts’ file format. In our case here, our font file format is .ttf and hence we will need to upload it within the “Font .ttf” field;

If there are more variations to the font, click on the “Add Font Variation” button and add the variation.
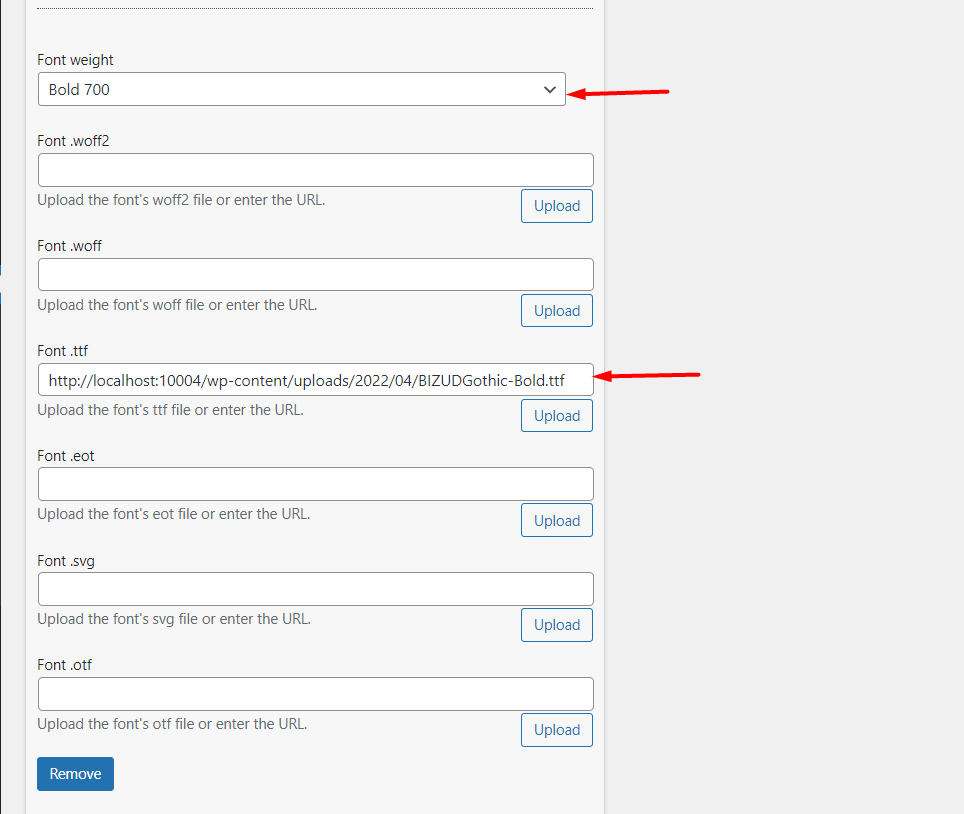
For example in our case here, we have the “Bold 700” style variation. We will hence need to upload it within the variations’ “Font .ttf” section and set the font weight to “Bold 700” as seen below:
v) Add the new font by clicking on the ” Add New Font” button.
Applying the New Font To Your Site Content
Section titled “Applying the New Font To Your Site Content”Applying the new font to the site will now involve some coding. The font can be applied to the site via Custom CSS. You will hence need some CSS knowledge to implement this as well some knowledge on how to use Browser Dev tools. You may check out either of the guides below:
Using the browser developer tools
We recommend adding custom CSS within the Appearance > Customize > Additional CSS section:
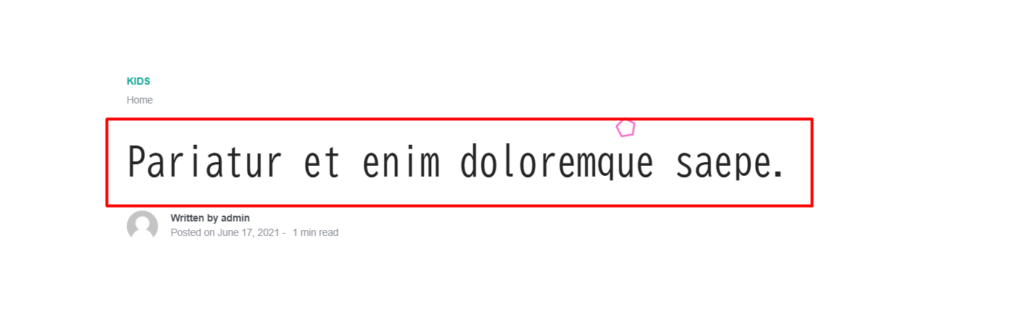
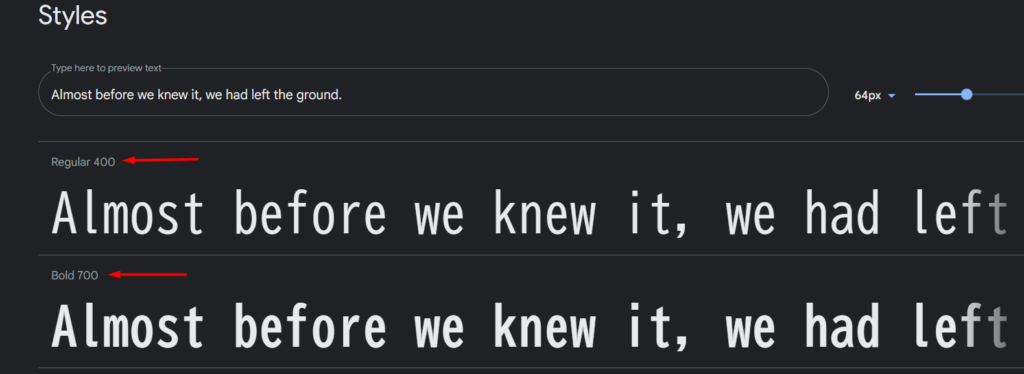
As an example in our case here, we will use the following CSS code to alter the font family of the post titles to “BIZ UDGothic” and their font weight to “400” :
.single-post h1.entry-title { font-family: 'BIZ UDGothic'; font-weight: 400;}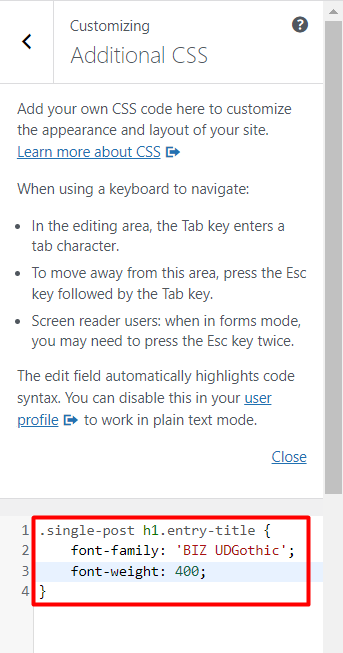
Once we now check on any of our posts, we will actually see that the font is actually applied as seen below: