Overview
In a situation whereby you do not want to install a plugin within your website in order to carry out translation, you can opt to carry out the translations using a locally installed Desktop software. This is where Poedit, which is our preferred tool for carrying this out comes in.
Within this guide, we will look into how you can use the software to carry out translations within the Stax theme. To begin with, you will need to download and install Poedit on your computer.
This guide assumes that you have carried out the language switch as outlined here. Once this is done, you can proceed to the next Translation steps outlined below.
Select your Language file
The stax.pot which the main file we will be using for translation is located within the Stax > Languages directory. We will hence need to open this file using our Poedit software.
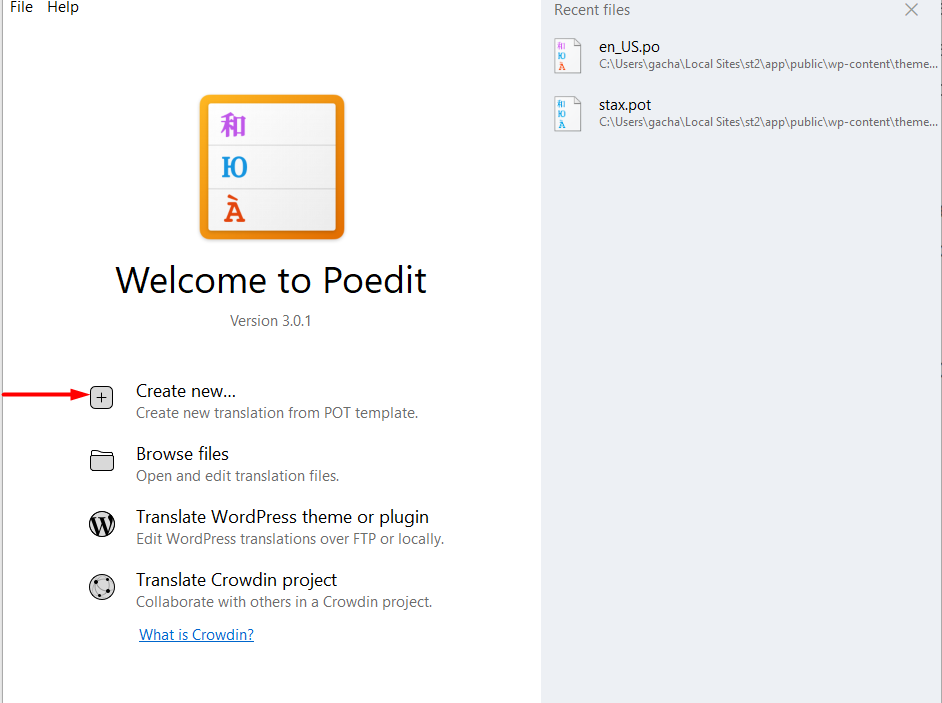
To do so, start your Poedit software and click on the “create new translation form Pot template” as illustrated below:

A popup window will be rendered and you will need to select the stax.pot file from the wp-content > themes > stax > languages directory path.
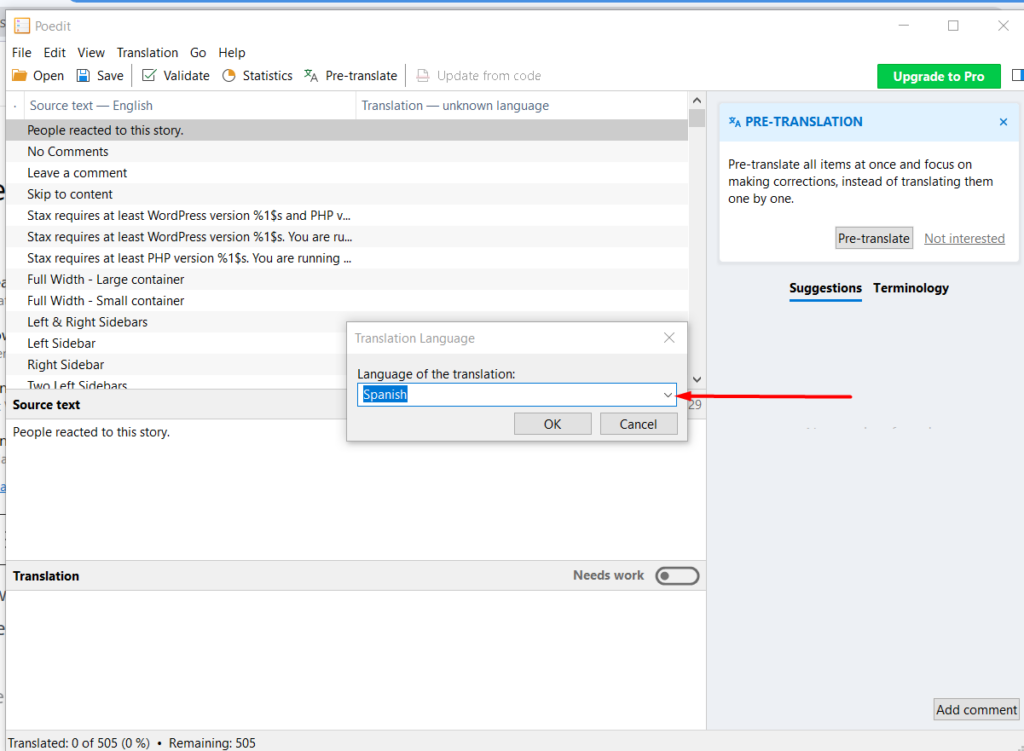
Select your translation language from the dropdown and click “OK”:

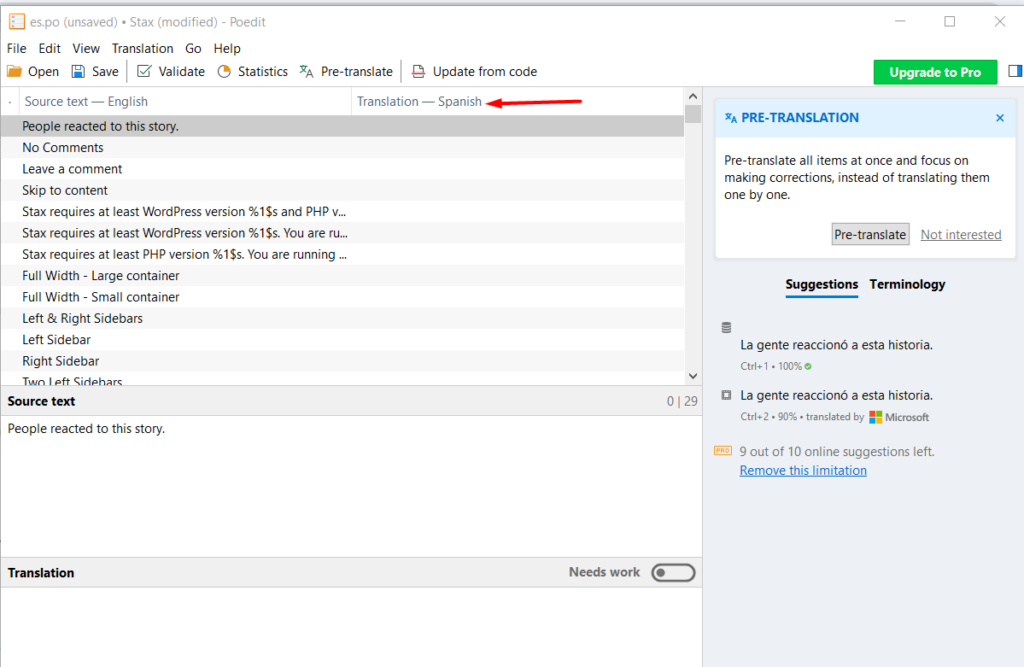
Once this is done, you should have the translation column with the specified language:

Translating the Strings
Within the left pane, select the Source String that you wish to alter, and on the Translation segment, add your desired translation String. Below is a sample illustration on this:
You can carry out all the other String translations within the file following the same steps illustrated above.
Once you are done with the translation, you should have two additional files, (PO & MO) files within the wp-content > themes > stax > languages directory path. Below is a sample screenshot on this:


