Overview
Widgets are pre-built modules that enable you to add specific features to your website, within sidebars and other designated areas in your website such as the footer.
These widgets can be added from the Appearance > Customize > Widgets section.

Stax theme provides a number of locations where the widgets can be added. These include:
- Primary Sidebar
- Secondary Sidebar
- Footer Column 1
- Footer Column 2
- Footer Column 3
- Footer Column 4
The above can be classified under two broad categories:
- Sidebars
- Footer Columns
Sidebars
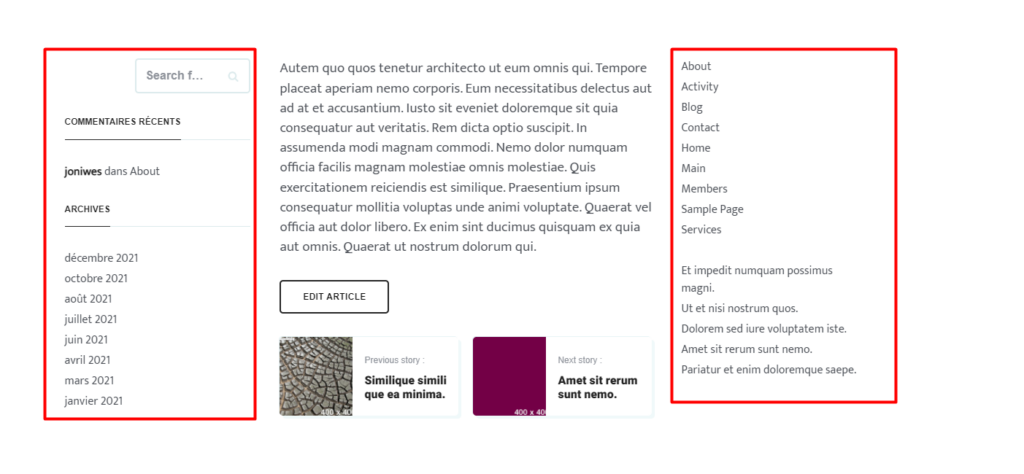
As previously highlighted, the theme contains two sidebars regions which are the primary sidebar and secondary sidebar.
Depending on your chosen page/post/archive layout, a layout with two sidebar regions will display in the first region, a primary sidebar and on the second region a secondary sidebar. A layout with one sidebar region will on the other hand display the primary sidebar only.
As we will see in the “Adding widgets” section, you can add widget blocks to each of these sidebars from the Appearance > Customize > Widgets section. Below is a sample illustration of these two sidebars with widgets in place:
Footer Columns
As the name suggests, these are column regions within the footer of a website.
Stax theme provides up to 4 of these column sections, of which are Footer Column 1, Footer Column 2, Footer Column 3 and Footer Column 4. Each of these column regions can be added with the help of the Footer builder, using the components: Footer One, Footer Two, Footer Three and Footer Four respectively.
Widget blocks can be added to each of these Footer Columns from the Appearance > Customize > Widgets section as we will see in the “Adding widgets” section. Below is a sample illustration of these footer columns, with widgets in place:

Adding Widgets
There are various ways to add widgets within the theme. These include:
- Via the Appearance > Customize > Widgets section
- Via the Appearance > Widgets section
Here, we will look into how to add widgets via the Appearance > Customize > Widgets section, using a primary sidebar as an example.
In order to achieve this, you will need to:
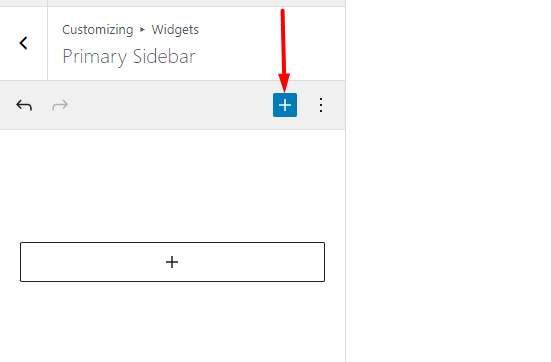
- Click on the “plus” icon within the sidebar
- From the widget block menu panel rendered, click on one of the available blocks that you wish to have in place
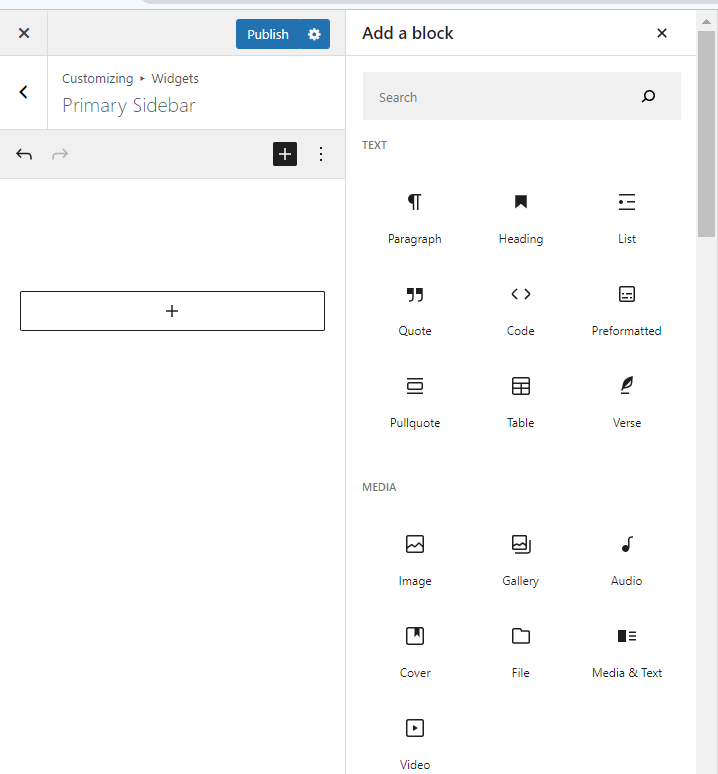
This section also does provide a search field that you can use to quickly search for your desired block.
- Once you have the block added, depending on the properties within it, you can have its properties adjusted and publish the changes.
Removing Widgets
In a scenario where you would like to remove a widget from any of the sidebar or footer regions, you will need to:
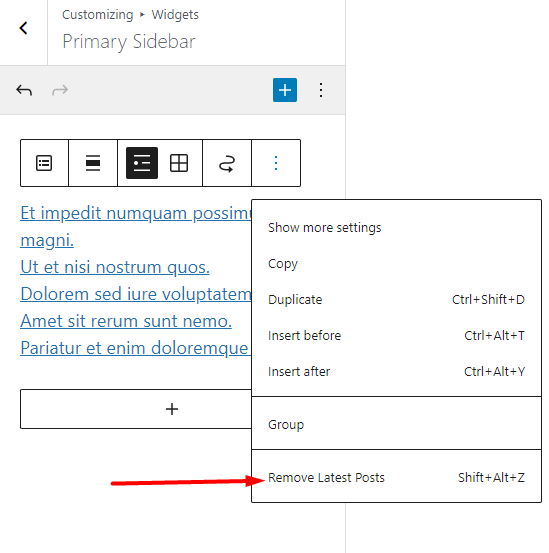
- Navigate to the Appearance > Customize > Widgets section and select the section where you would like to have this carried out. In our case here, we will use “Primary Sidebar”.
- Click on the widget block in place
- Click on the toolbar within the block
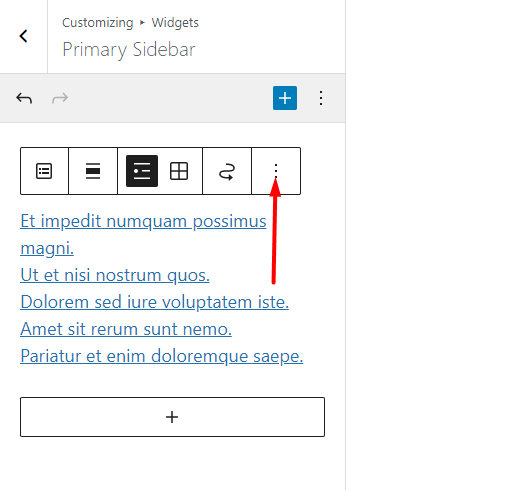
- Select the option to remove your block. In our example here, it is “Remove Latest Posts”.
- Publish your changes


