Within this doc, we are going to focus on adding a new Member profile template and importing a pre-built template. After that we will set it as the default template for the member profiles.
You will need to carry out the following steps:
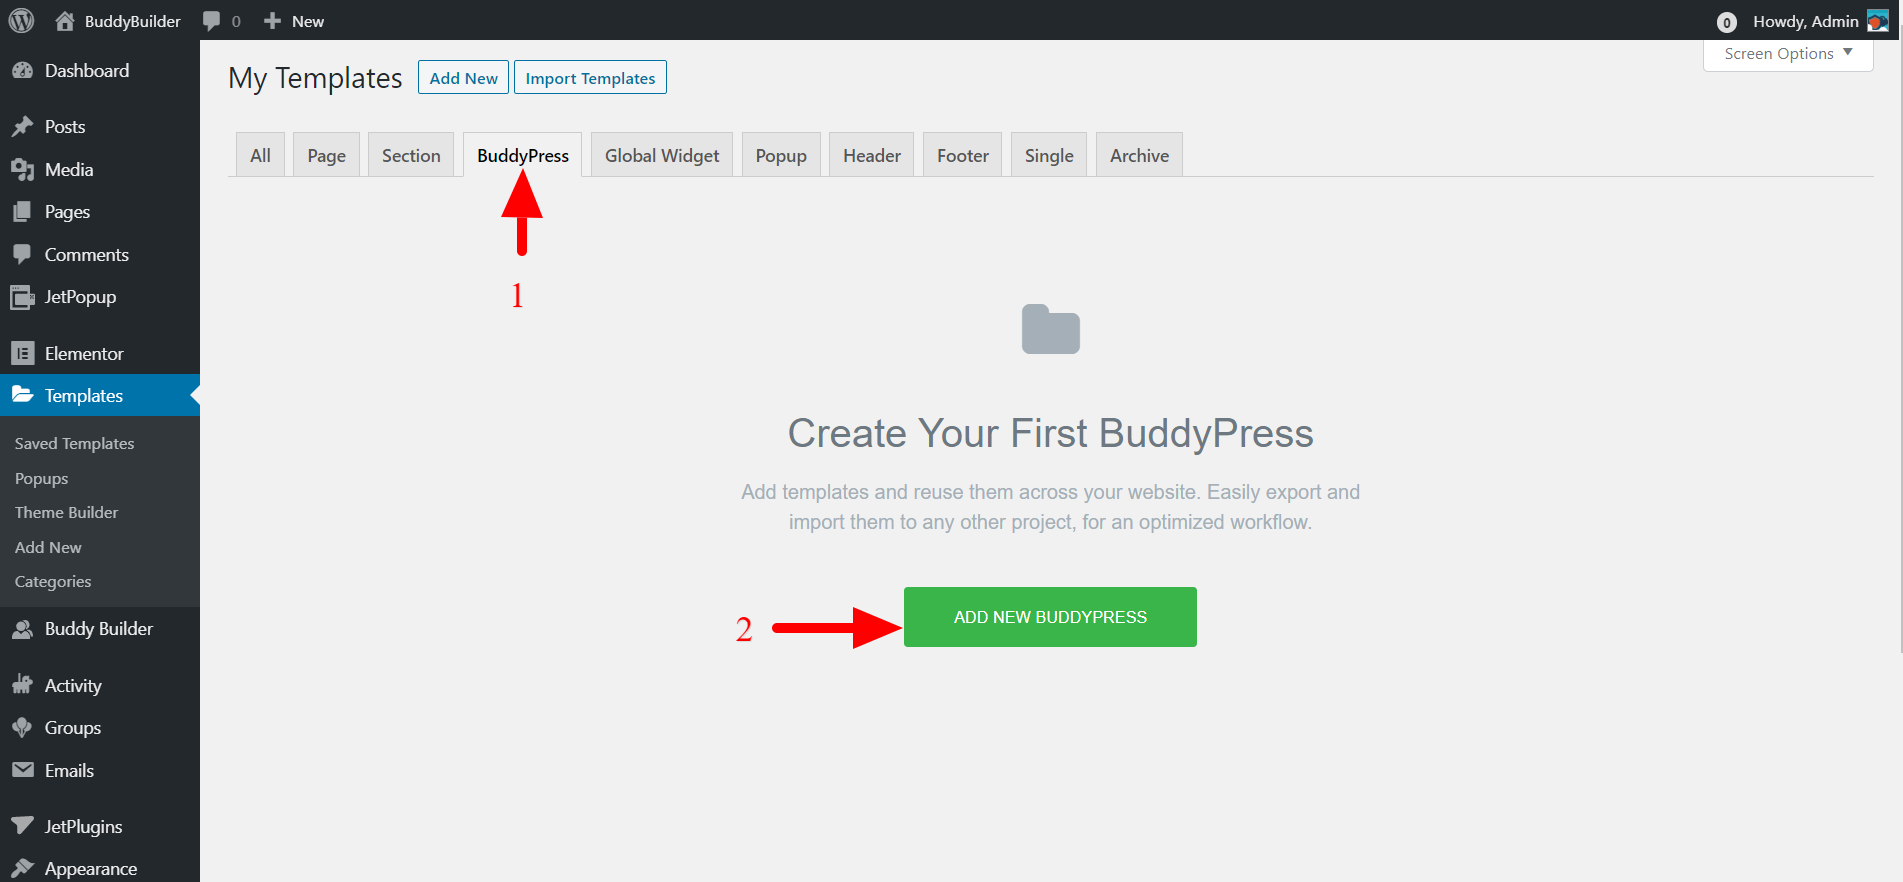
- Navigate to the Templates > Saved Templates section in WP admin.
- Within the BuddyPress Tab, click on the “Add New BuddyPress” button
From the popup rendered;
- Ensure that the template type is set to “BuddyPress”
- Set the BuddyPress page to “Member Profile”
- Add a name for your template. In our case here we shall name it “Custom Member Profile”
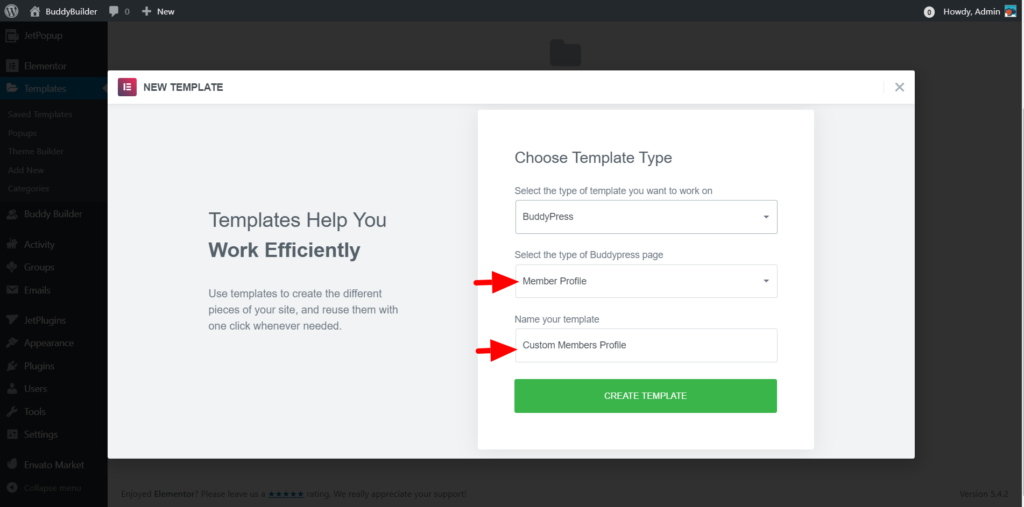
- Click on the “Create Template” button and within the popup rendered, also click on the “Insert” link to add the starter template if you want to have a quick start.
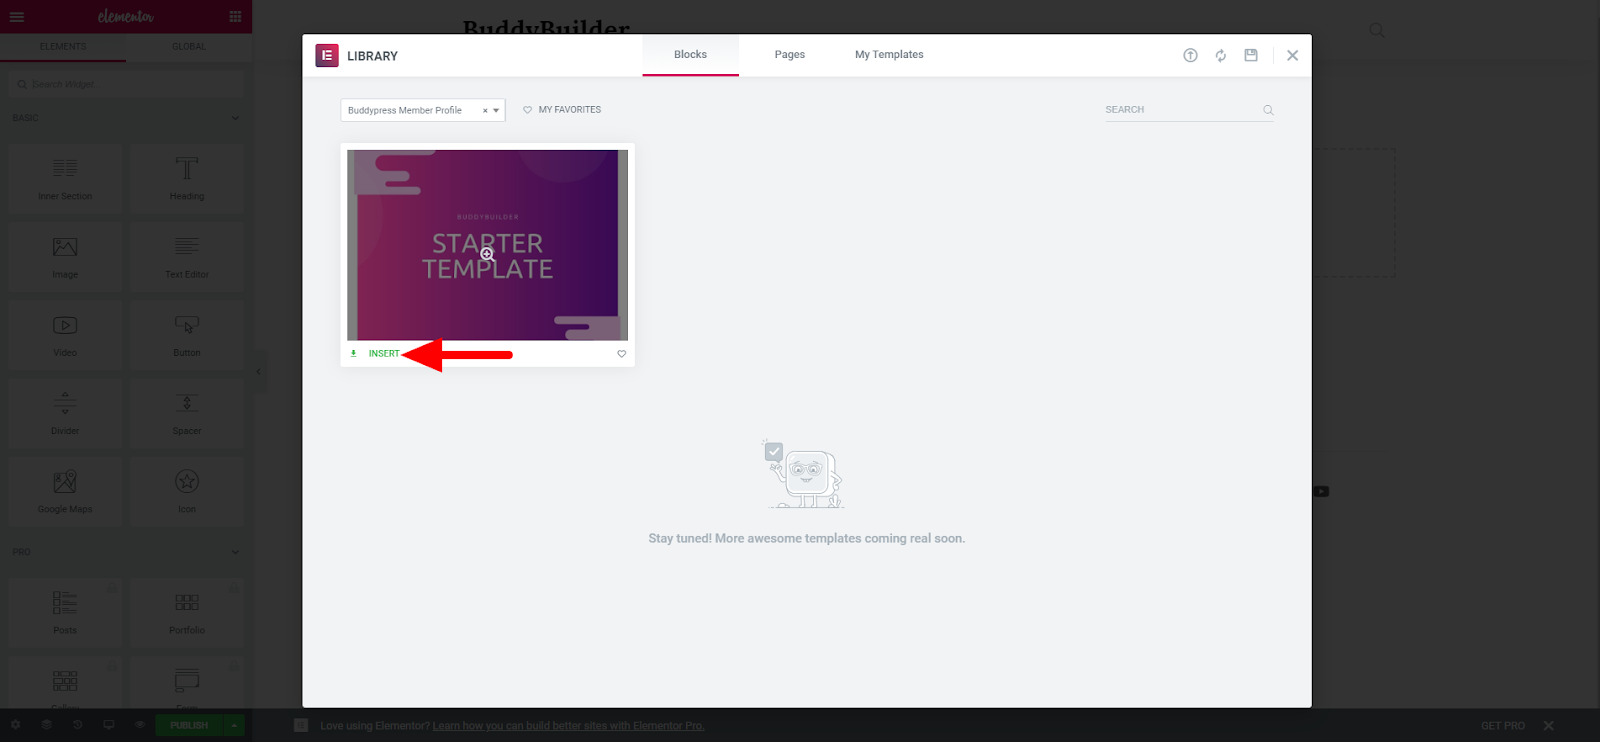
- Publish the template
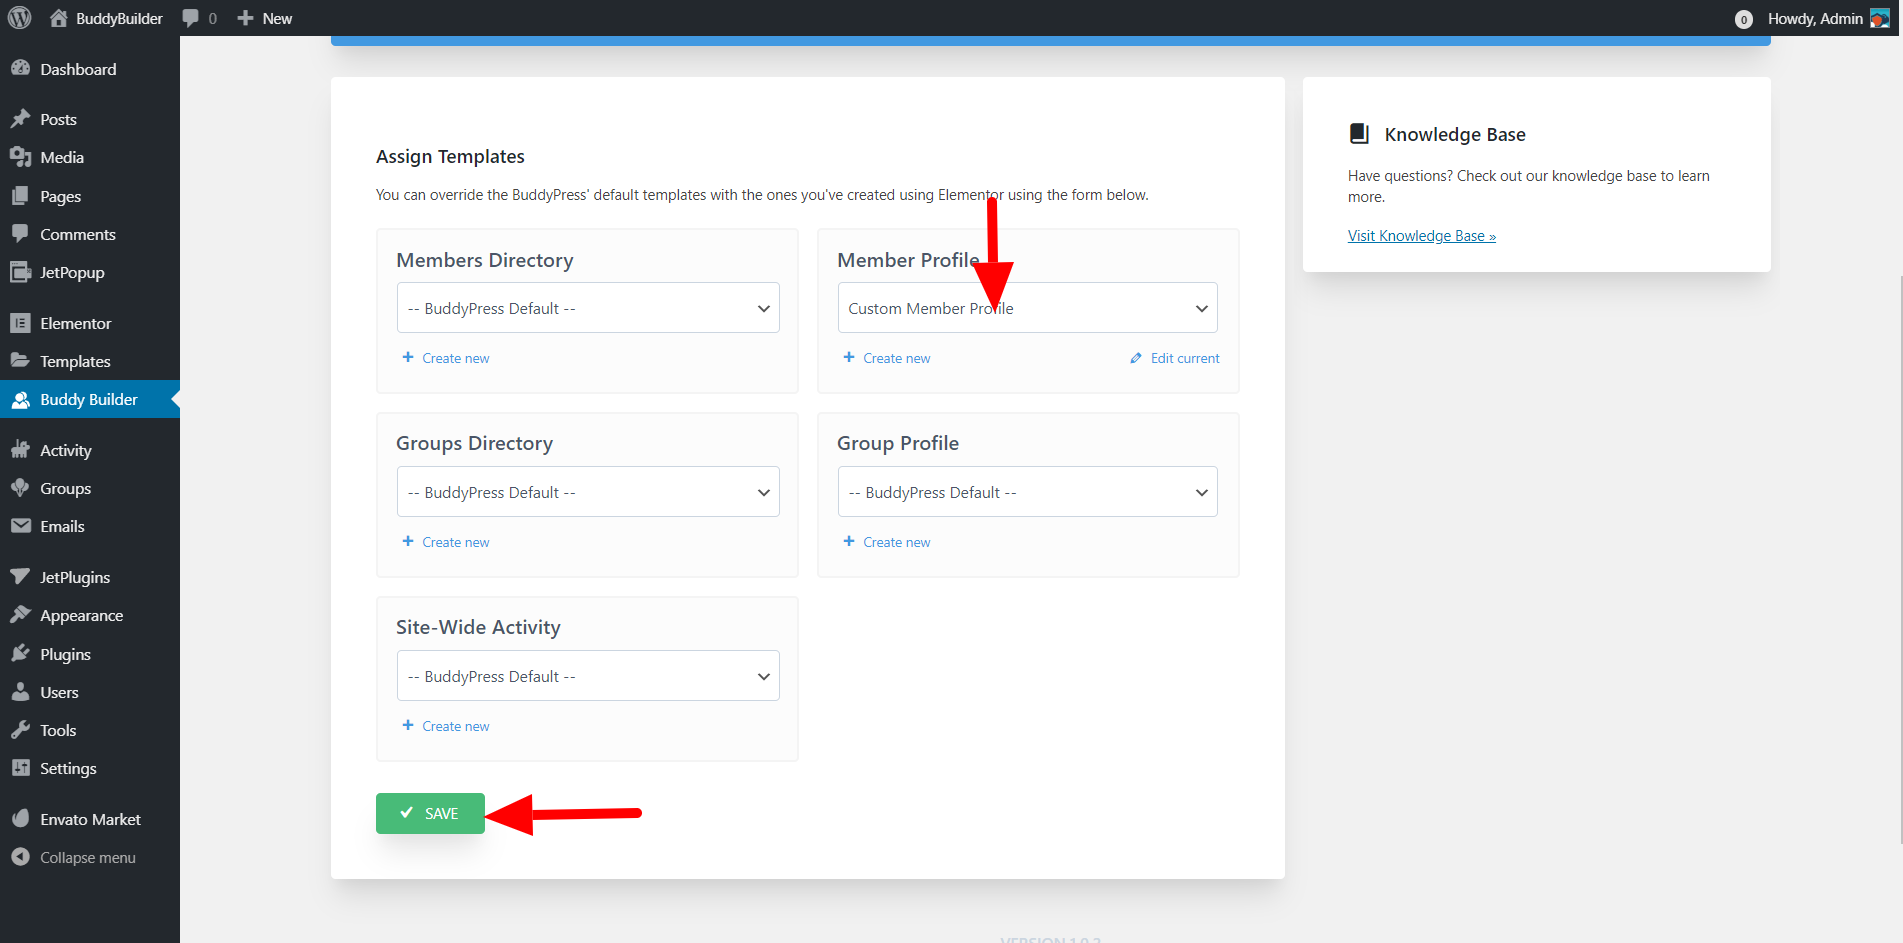
Setting the custom Profile Template as the Default Template
In order to set the new template as the active template:
- Navigate to the BuddyBuilder tab within your dashboard, and on the “Member Profile” section, set the newly created template and save your changes