Set up a Visibility Logic rule on an Elementor element
To show or hide an Elementor element, select it, open the Visibility tab, switch on Enable Visibility Logic and turn on at least one condition. The settings below, in the General section of the tab, control what happens when the conditions match.
Enable Visibility Logic
Section titled “Enable Visibility Logic”- Edit the page, post or template with Elementor.
- Select the widget, section or container.
- Open the Visibility tab in the panel.
- In the General section, switch Enable Visibility Logic to Yes.
- Open a condition section (for example User Role), switch its Enable to Yes and fill in its settings.
- Click Publish or Update.
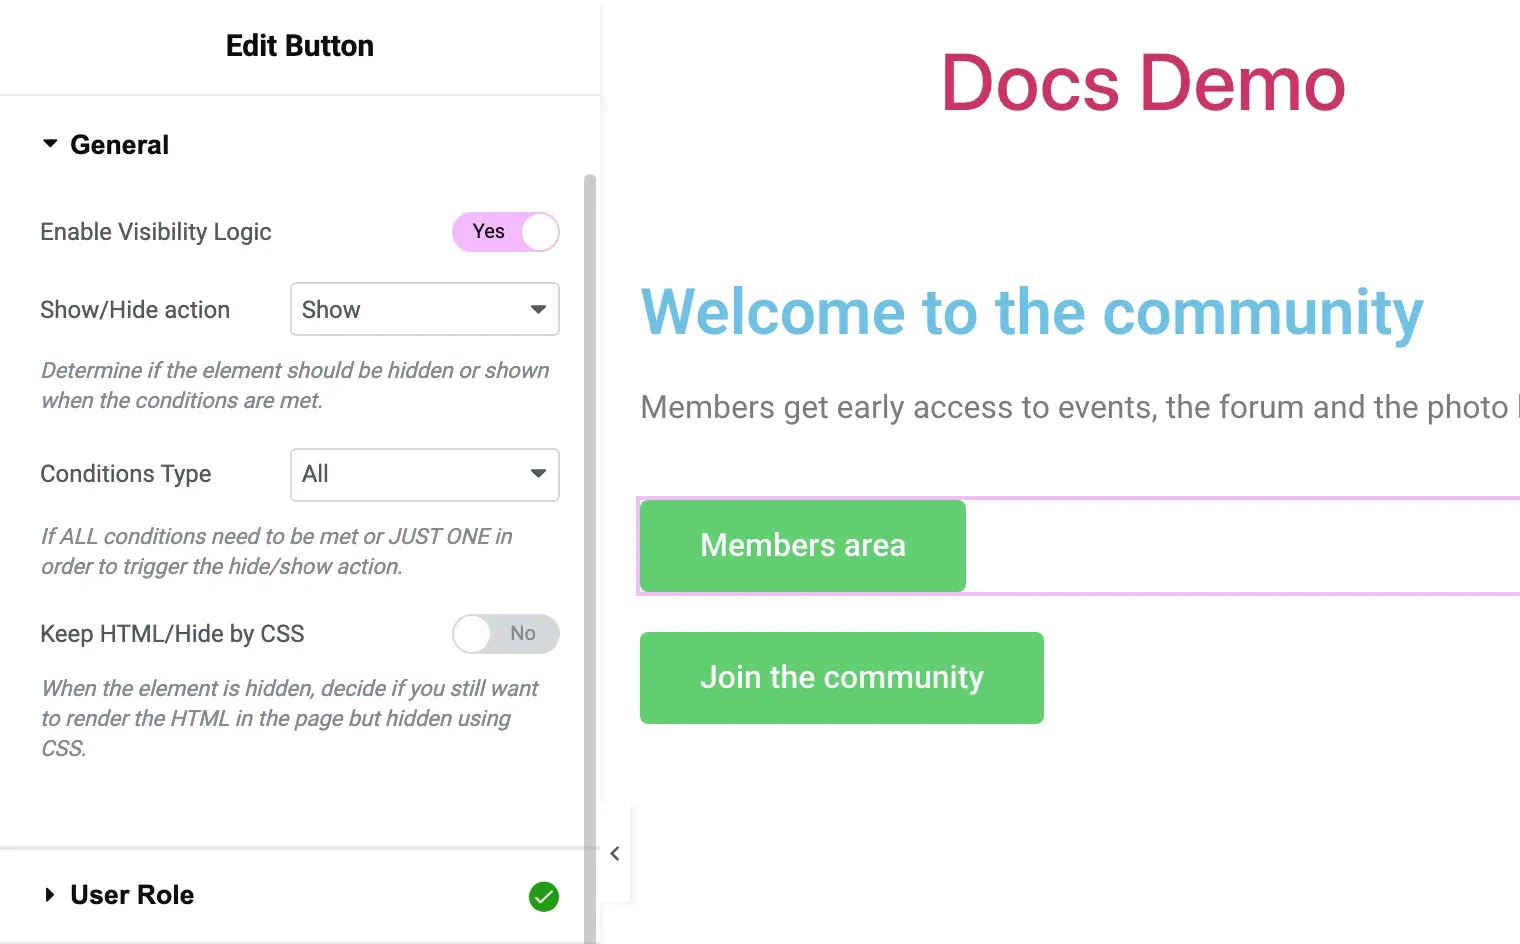
The condition sections appear only after Enable Visibility Logic is on. In the editor, elements with Visibility Logic enabled get a small icon in their top-right corner. The editor always shows every element, so check the result on the live page (see Troubleshooting).
If Enable Visibility Logic is on but no condition is enabled, the rule does nothing and the element is always shown.
Show or hide
Section titled “Show or hide”Show/Hide action decides what happens when the conditions are met:
| Option | What it does |
|---|---|
| Hide (default) | Hides the element when the conditions are met. Everyone else sees it. |
| Show | Shows the element only when the conditions are met. Everyone else does not see it. |
Example: to show a “Members area” button only to logged-in users, set Show/Hide action to Show and pick Logged in users in User Role.


Conditions Type
Section titled “Conditions Type”Conditions Type decides how several enabled conditions are combined:
| Option | What it does |
|---|---|
| All (default) | The action runs only when every enabled condition matches. |
| At least one | The action runs when any enabled condition matches. |
Some conditions count as more than one check. For example, in IP & Referrer the IP list and the referrer list are checked separately, and in Post/Page each filled-in field (post type, specific posts, taxonomy, meta and so on) is its own check. With All, every one of them must match.
Keep HTML and hide by CSS
Section titled “Keep HTML and hide by CSS”By default a hidden element is removed from the page: its HTML is not sent to the browser.
Switch Keep HTML/Hide by CSS to Yes to keep the element in the page HTML and hide it with display: none instead. Use this when a script or a style depends on the element being in the page.
Hide when empty
Section titled “Hide when empty”Sections and containers have a Hide when empty switch in the General section. It appears when Enable Visibility Logic is off on that section or container. When it is on, the whole section or container is hidden if every widget inside it is hidden by Visibility Logic, so you do not get an empty band with only padding and background.
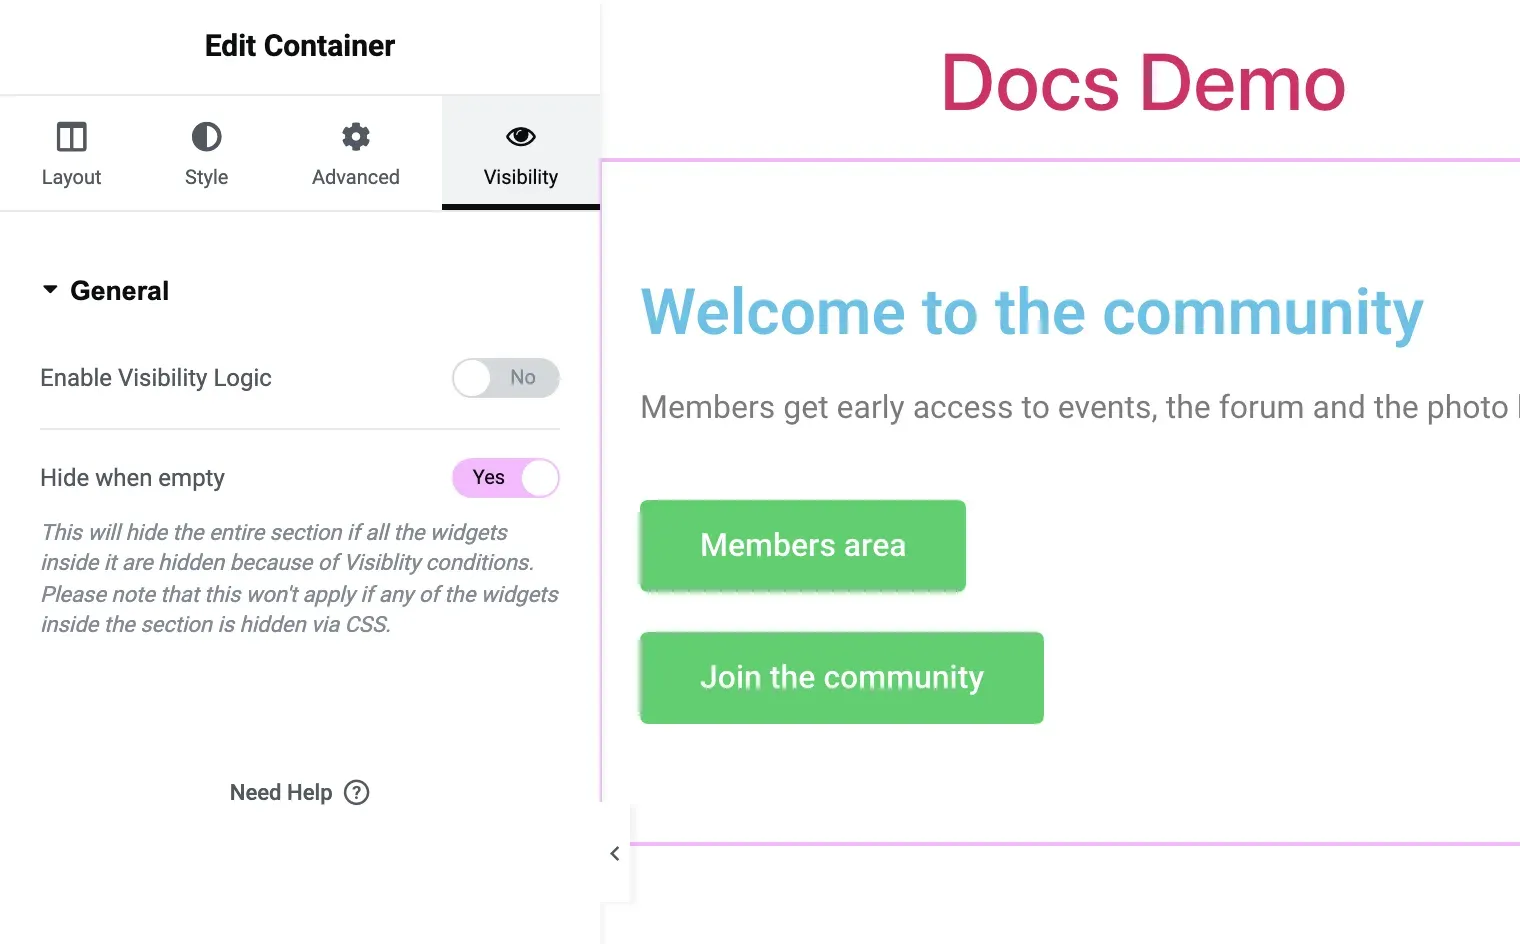
Hide when empty works on classic sections and on Flexbox containers, also when a container holds its widgets directly (fixed in Visibility Logic 2.5.2; earlier versions always hid such a container).
Fallback content
Section titled “Fallback content”Fallback content replaces a hidden element with something else, for example a “Log in to see this offer” message.
- In the Visibility tab, open the Fallback section.
- Switch Enable to Yes.
- Choose the Content type: Text or Template.
- For Text, write the message in Text Fallback. For Template, pick an Elementor template in Render Template.
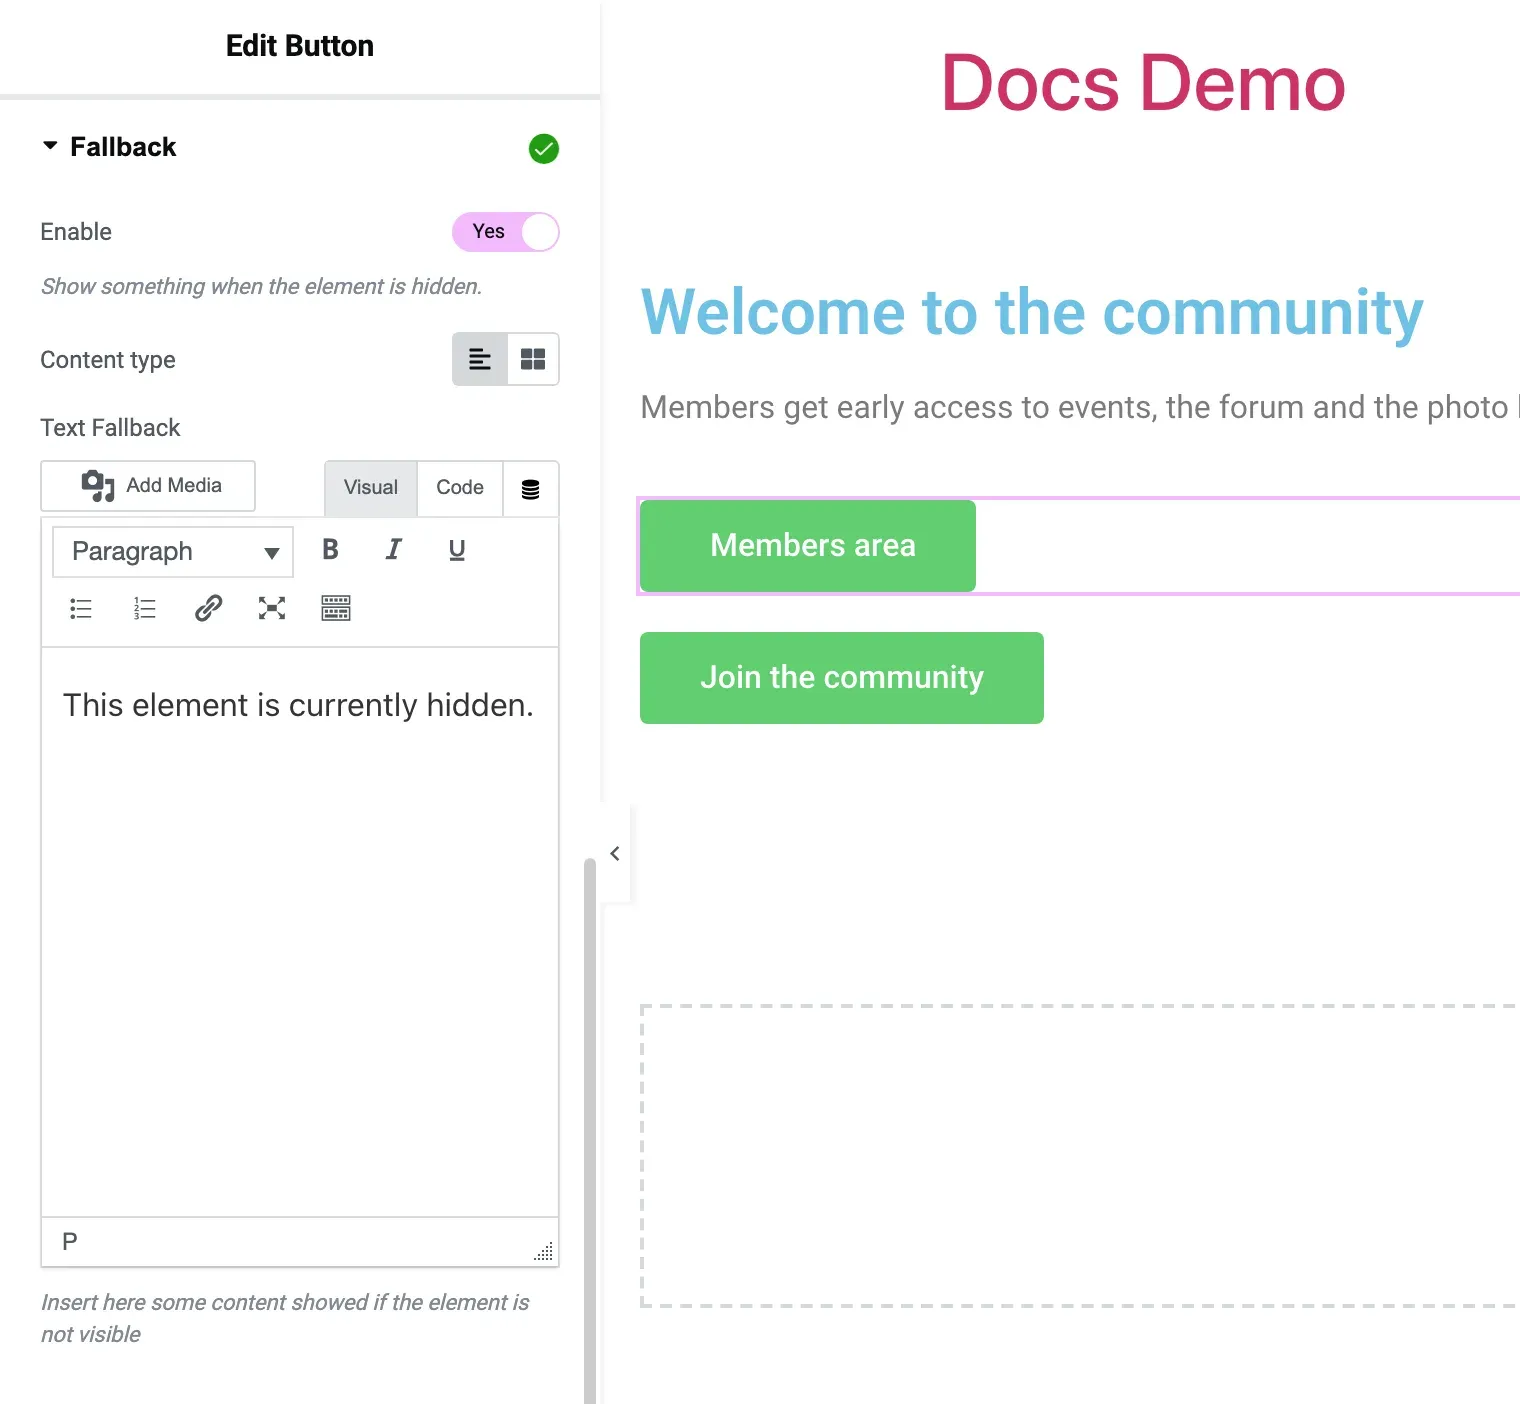
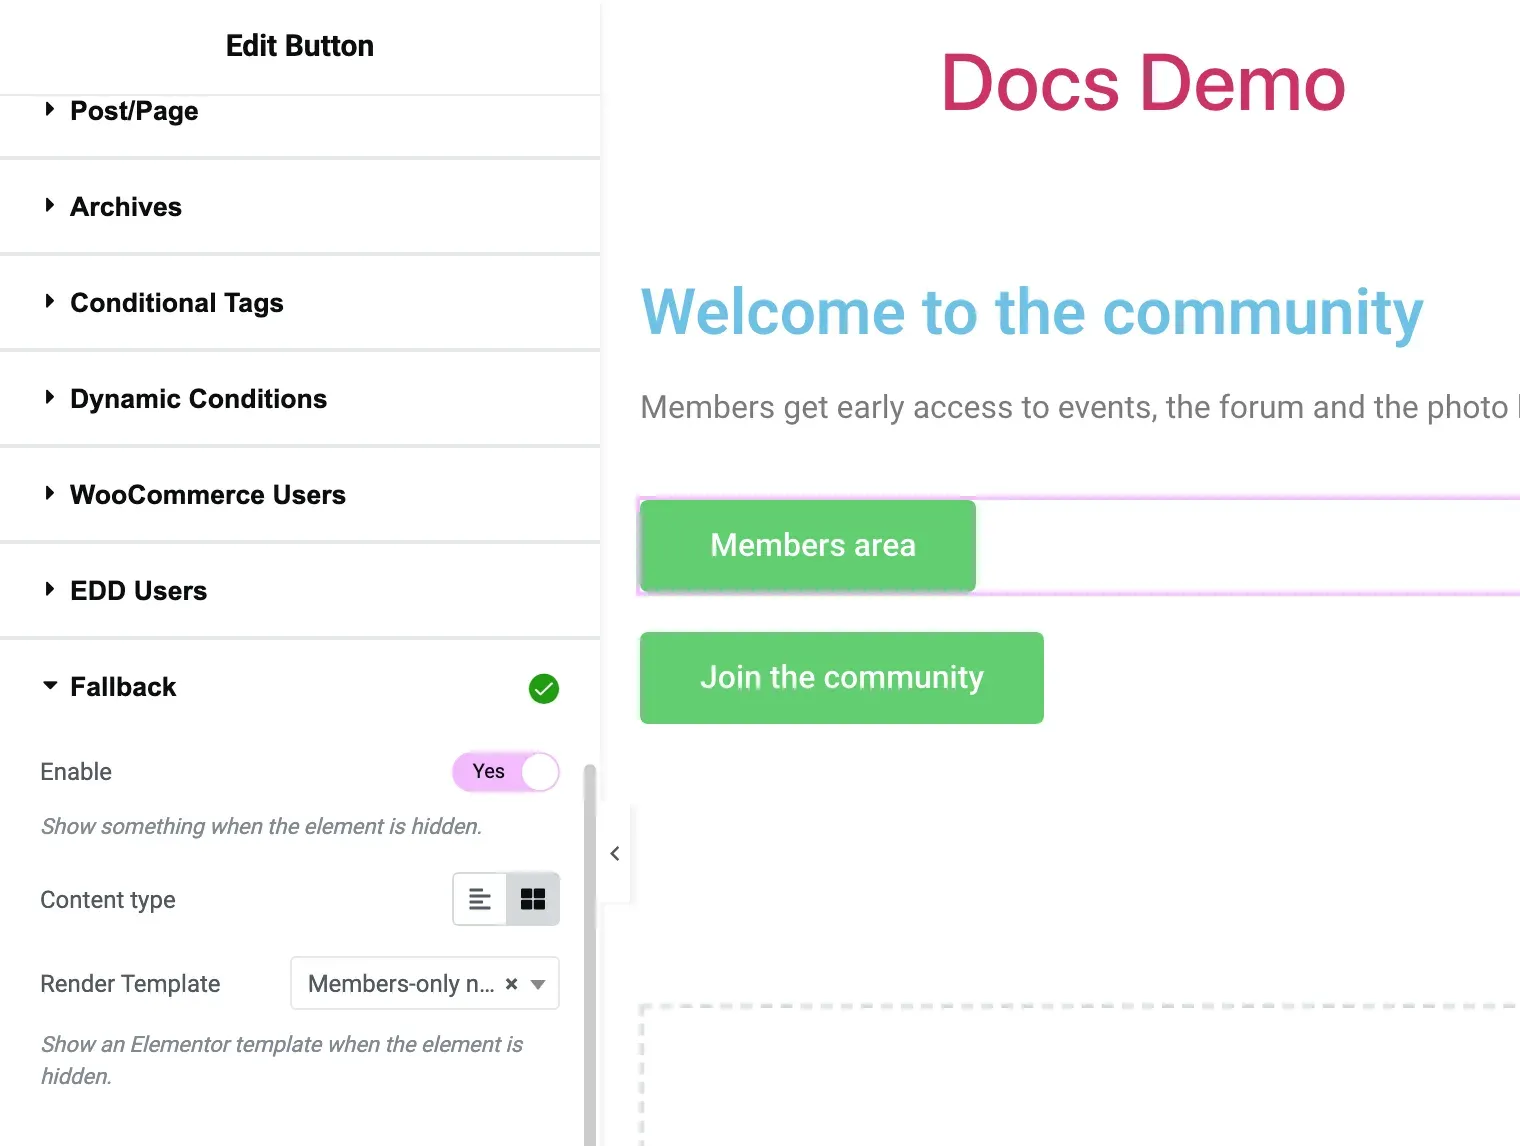
When fallback content is enabled, it is shown instead of the hidden element, and Keep HTML/Hide by CSS is ignored for that element.
Copy and paste visibility settings
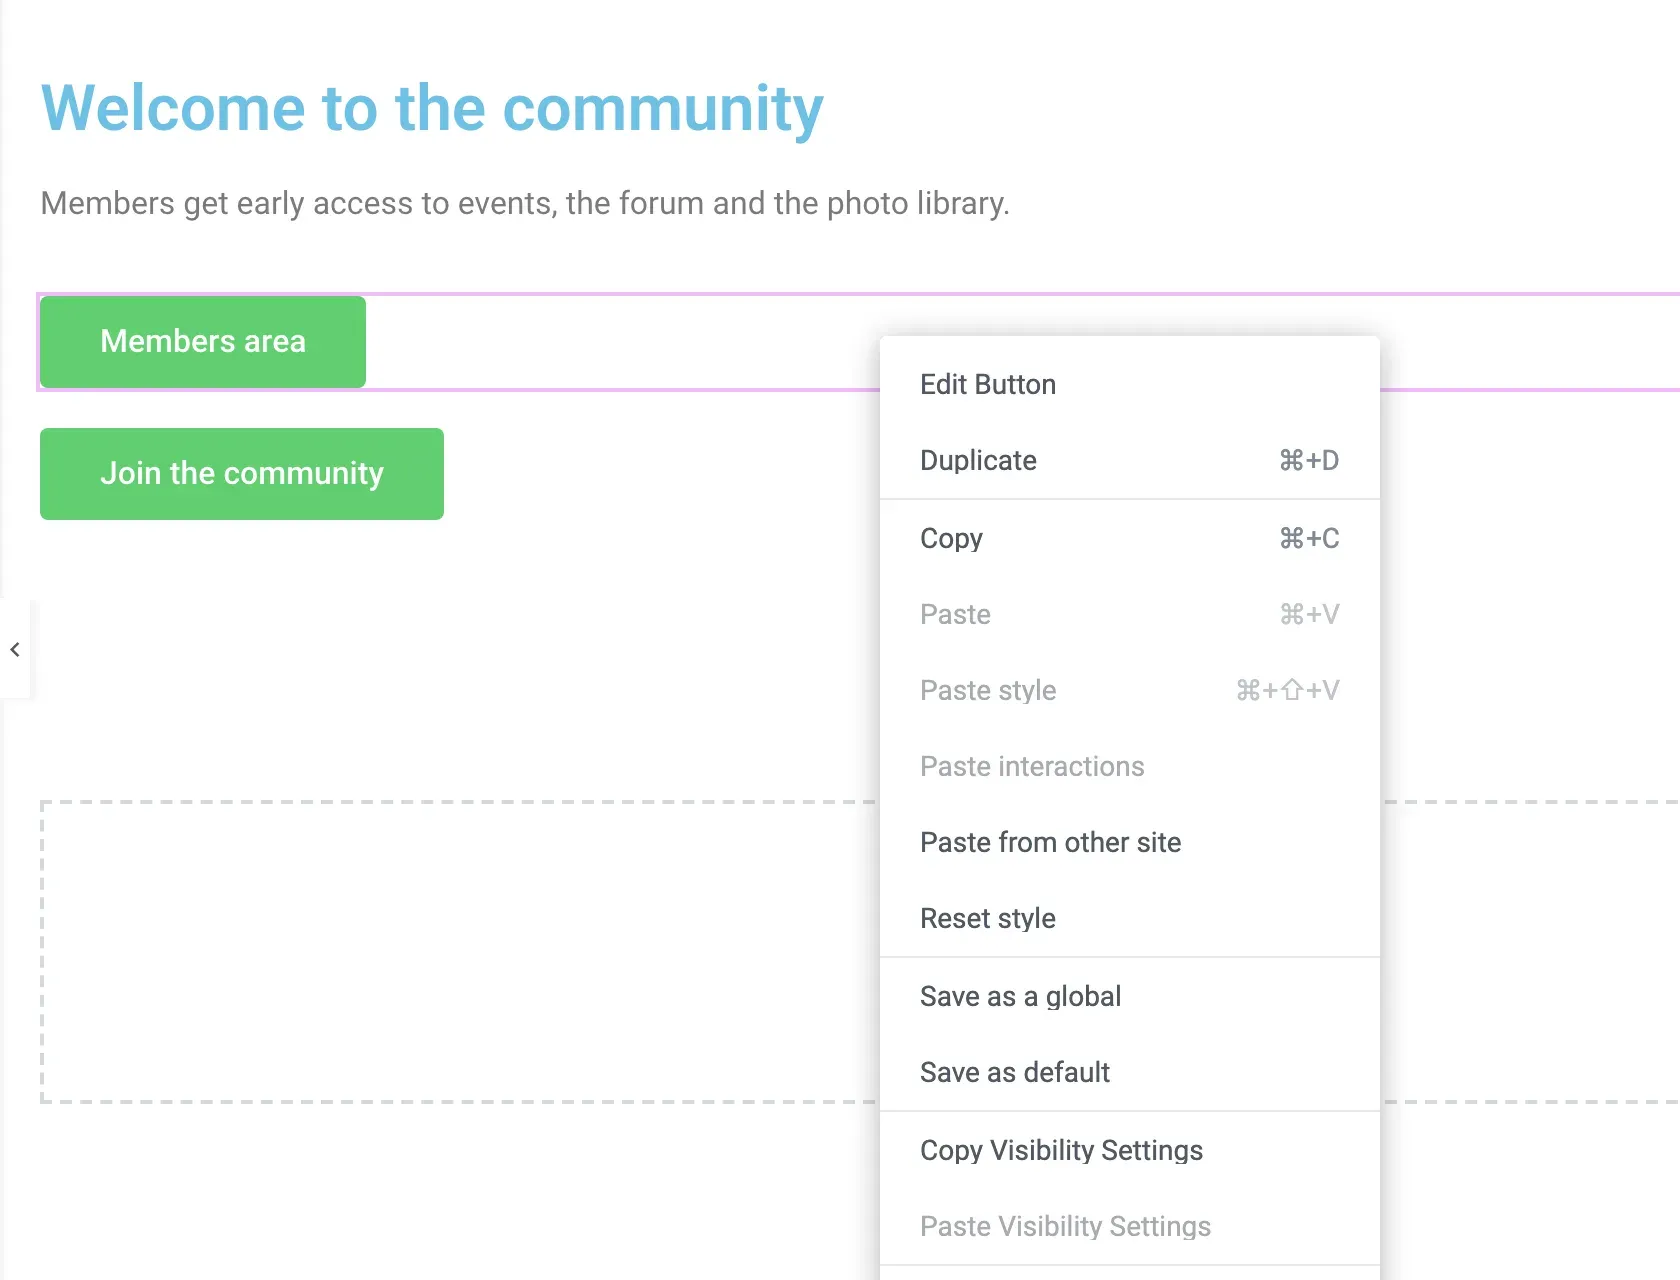
Section titled “Copy and paste visibility settings”To reuse a rule, right-click the element in the editor and choose Copy Visibility Settings. Then right-click another element and choose Paste Visibility Settings.